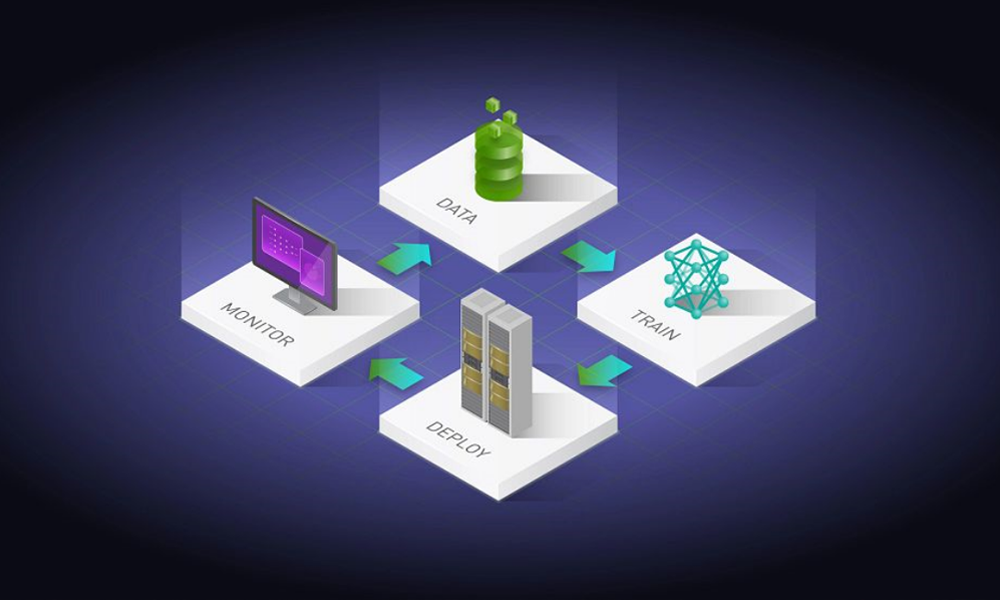
The process of building an AI-powered solution from start to finish can be daunting. First, datasets must be curated and pre-processed. Next, models need to be trained and tested for inference performance, and then finally deployed into a usable, customer-facing application.
At each step along the way, developers are constantly face time-consuming challenges, such as building efficient pipelines, optimizing for the targeted hardware, and ensuring accuracy and stability while working within a project’s schedule and budget.
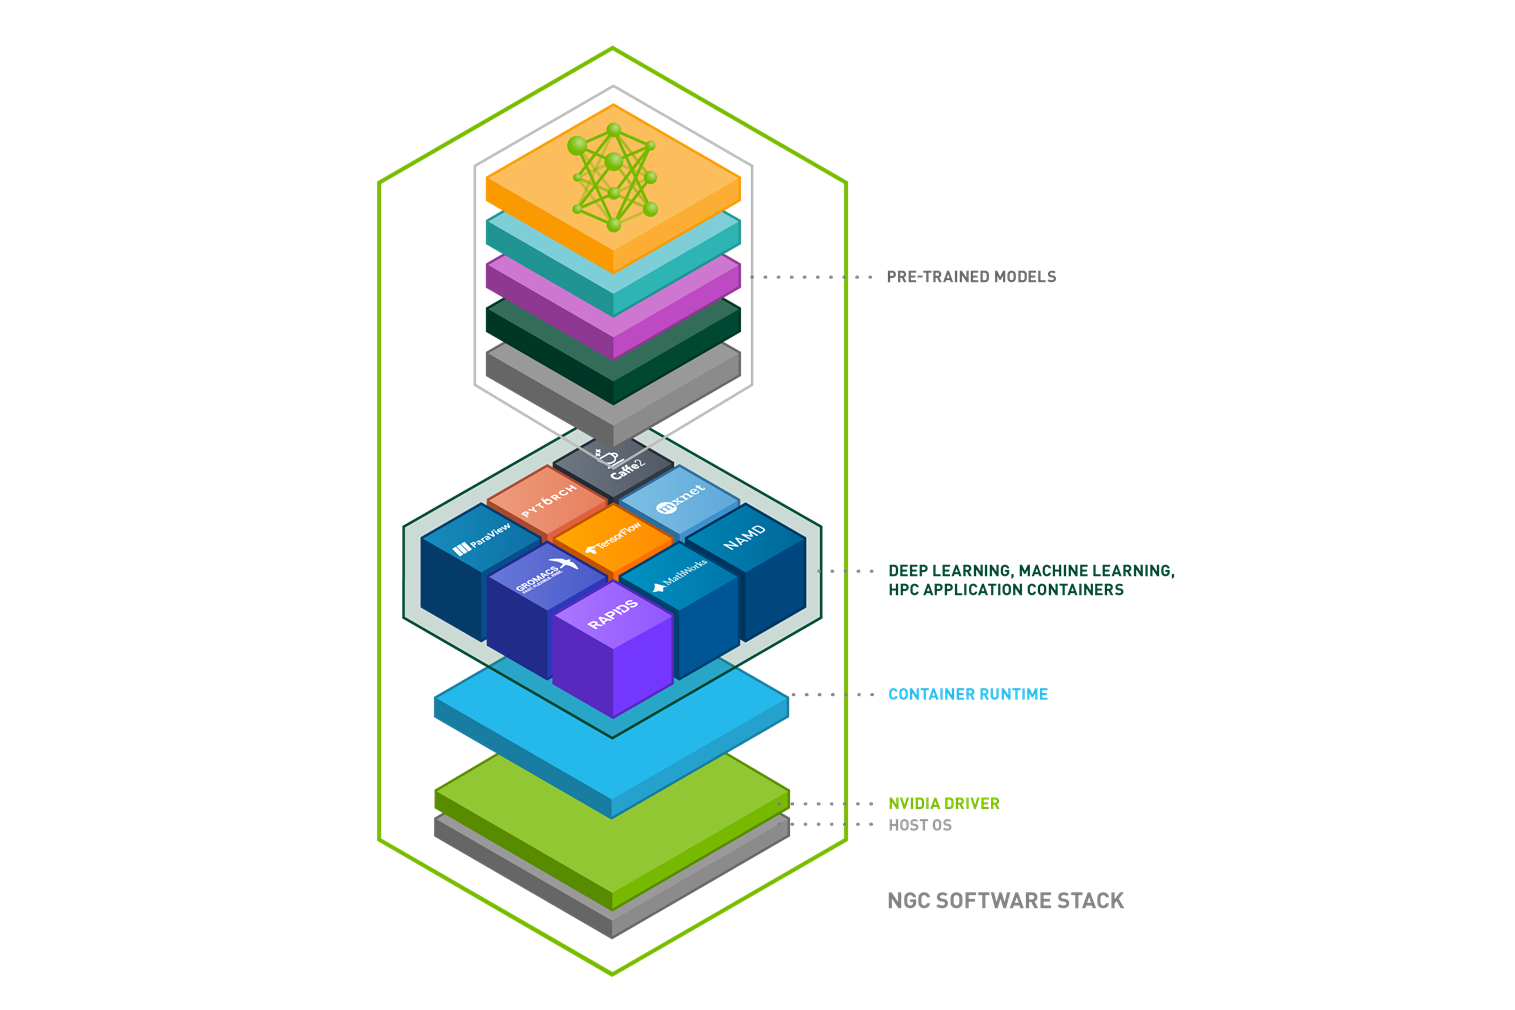
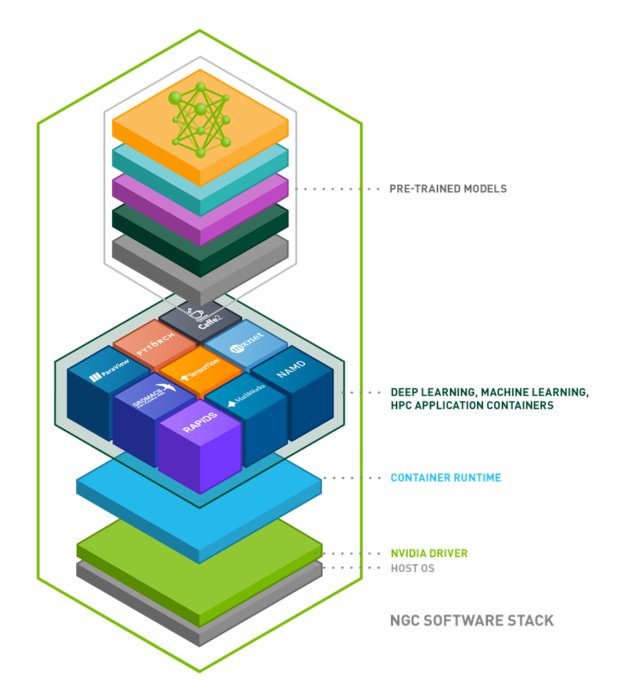
NGC is a hub of GPU-optimized software for AI, machine learning (ML), and high performance computing (HPC) applications that can be deployed across on-premises, cloud, edge, and hybrid environments. In addition to the deep learning frameworks, NGC offers pretrained models and model scripts for various use cases including natural language processing (NLP), text-to-speech, recommendation engines, and translations.
This post explores how NGC simplifies and accelerates building AI solutions. We show you how to take advantage of NGC’s deep learning framework containers, pretrained models, and model scripts for training.
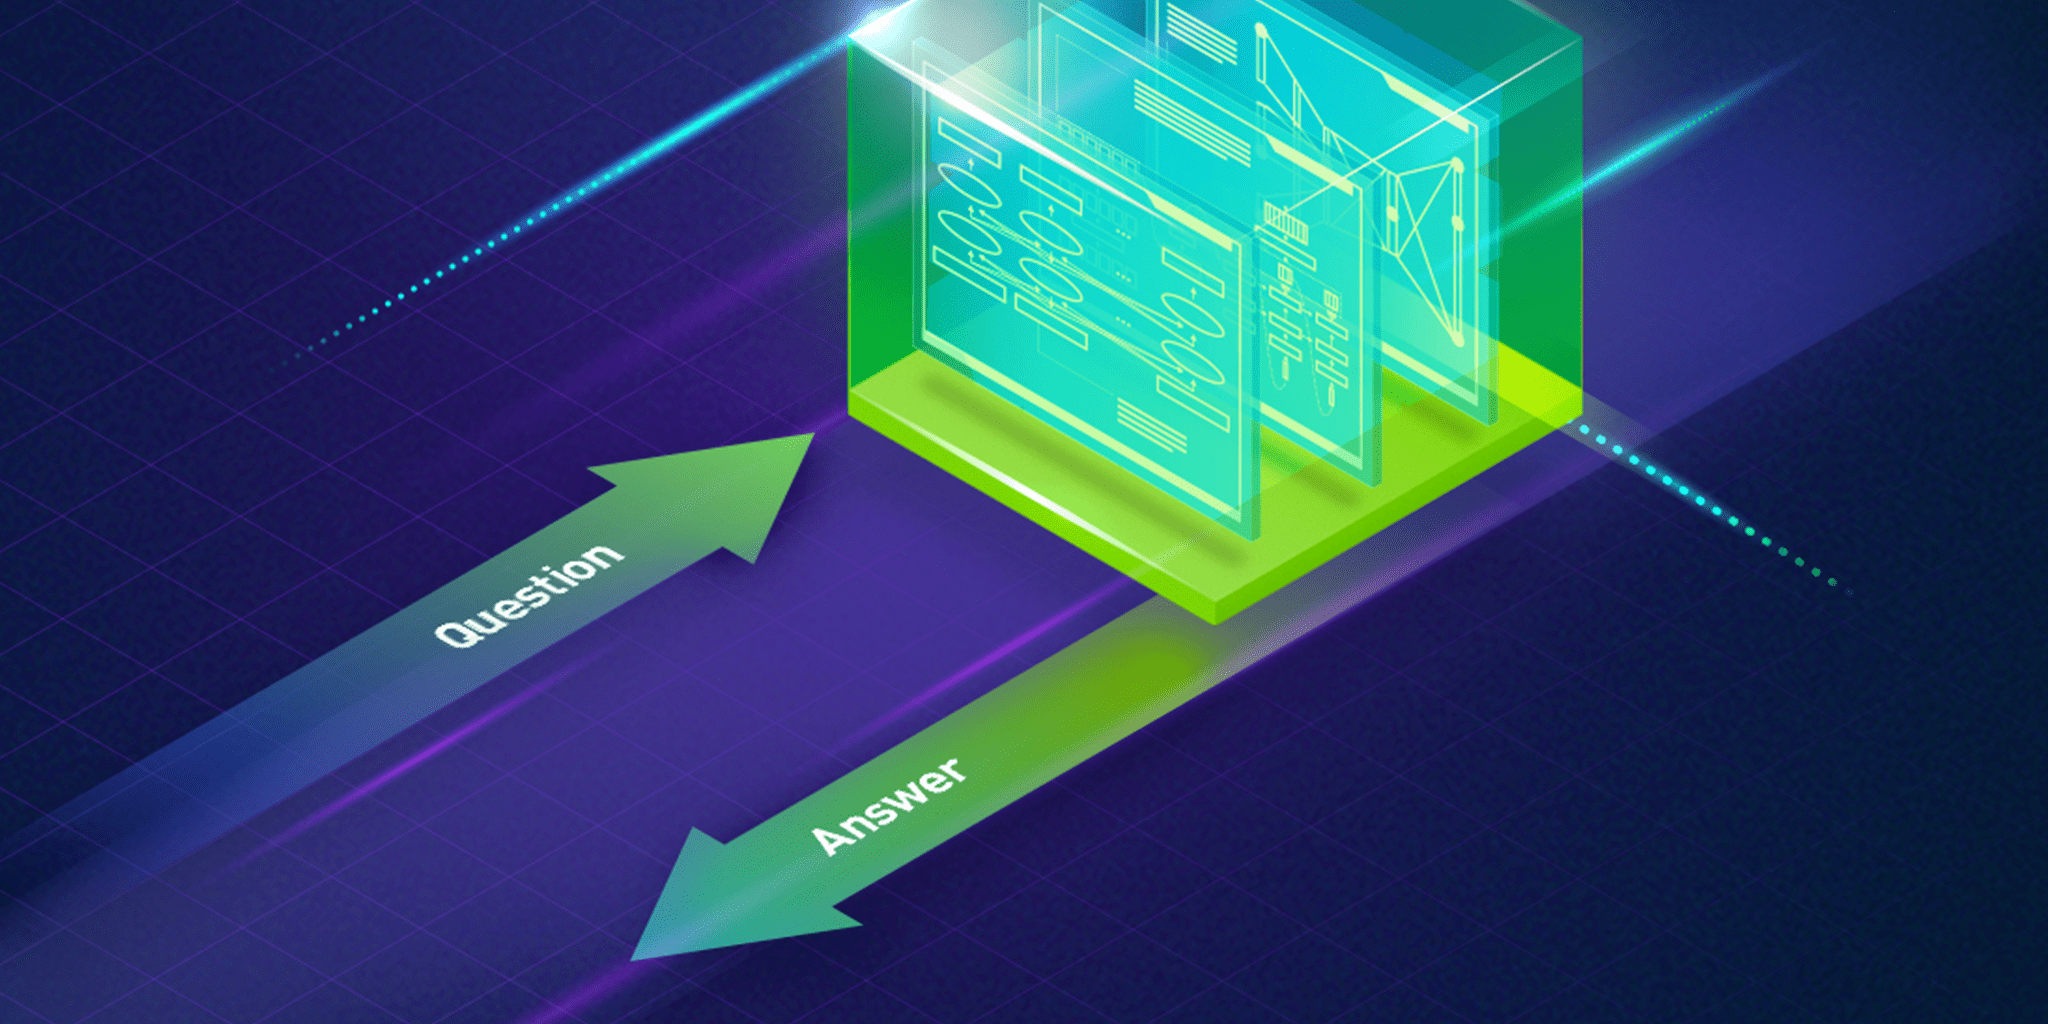
For this post, we focus on fine-tuning a BERT model for a question-and-answer (QA) service. However, you can follow NGC scripts for building your models with other pretrained models from NGC.
Prerequisites
This post requires a system with 1-8 NVIDIA V100 GPUs, such as DGX-1. Other NVIDIA GPUs can be used but training time varies with the number and type of GPU. These cards are available on all major cloud service providers in the following instance types:
- AWS: Any P3 Instance type
- GCP: Any N1 Instance type with V100s added
- Azure: Any NCv3-series Instance type
BERT overview
BERT (Bidirectional Encoder Representations from Transformers) is a flexible but large model architecture well suited for many NLP tasks. BERT is novel because the core model can be pretrained on large, generic datasets and then quickly fine-tuned to perform a wide variety of tasks such as question/answering, sentiment analysis, or named entity recognition. Figure 2 shows the solution architecture for this post.
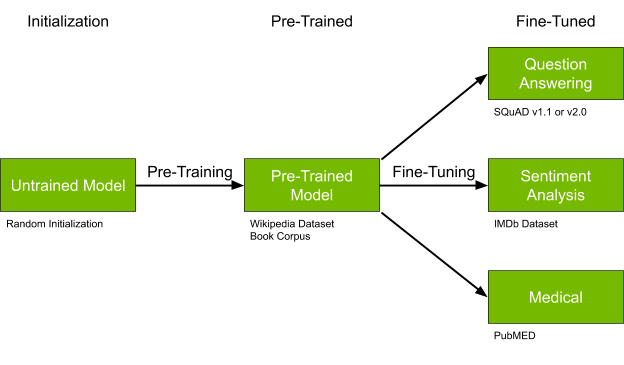
While this post won’t be taking a deep dive into the BERT model architecture, it is helpful to know the different model varieties to choose the correct one for your task.
The BERT models available on NGC can be categorized by several configurations.
Size
- BERT Small: 110 million parameters
- BERT Large: 330 million parameters
Sequence length
- 128 tokens
- 384 tokens
Task
- Pretrained (Wikipedia and Books Corpus dataset)
- Fine-tuned for question/answer (SQuAD dataset)
- Fine-tuned for medical (BioBERT trained on biomedical text datasets, such as PubMed)
Here you use BERT Large, Sequence Length = 384, and pretrained on the Wikipedia and Books Corpus dataset. However, your project may need a different version. NGC has a large number of BERT models in various deep learning frameworks available. Most of the BERT models available in NGC can be substituted for the model used in this post with minimal changes.
Fine-tuning BERT
To fine-tune BERT for a QA service, you need a pretrained model in your desired framework with a configuration that matches your desired configuration.
Without the availability of the correct pretrained model, it would be necessary to pretrain the model yourself, a monumental task. In fact, the process is so difficult, groups often compete to see how fast it can be trained. NVIDIA recently set a record of 47 minutes using 1,472 GPUs. With a more modest number of GPUs, training can easily stretch into days or weeks.
Fortunately, you are downloading a pretrained model from NGC and using this model to kick-start the fine-tuning process. Fine-tuning on the SQuAD dataset using the optimizations included in the NGC model scripts reduces your training time to just minutes.
Setting up the environment
To follow along with this post, set up your environment as described in the following subsections:
- Installing Docker
- Launching a cloud instance
Installing Docker
Install NVIDIA Docker on your on-premises DGX or your GPU-powered systems.
Launching a cloud instance
For this post, we describe setting up an Amazon EC2 instance, but there are alternatives. For more information, see Using NGC with Google Cloud Platform Setup Guide and Using NGC with Azure Setup Guide.
Log into the EC2 console and launch a new instance.
The first step is to choose an AMI that has NVIDIA Docker, TensorFlow, and PyTorch, such as Deep Learning AMI (Ubuntu 16.04) Version 26.0.
After you have chosen the Amazon Machine Image, choose an instance type. For this post, select P3 instances with V100 GPUs, such as p3.8xlarge.
Because you are pulling a Docker container, increase the memory size in the Add Storage step of launching a new EC2 instance.
Select the key pair and launch the EC2 instance. After it finishes initializing, select the instance, and connect to it using SSH.
Getting the assets from NGC
Before you can start the BERT fine-tuning process, you must obtain a few assets from NGC.
- The latest TensorFlow Docker image from NGC. Execute your training scripts using this container:
docker pull nvcr.io/nvidia/tensorflow:20.01-tf1-py3
- A pretrained BERT-Large model in TensorFlow. To download the pretrained model files, you have two options:
Option 1: Download from the command line using the following commands:
wget https://api.ngc.nvidia.com/v2/models/nvidia/bert_for_tensorflow/versions/1/files/model.ckpt-1000000.data-00000-of-00001
wget https://api.ngc.nvidia.com/v2/models/nvidia/bert_for_tensorflow/versions/1/files/model.ckpt-1000000.index
wget https://api.ngc.nvidia.com/v2/models/nvidia/bert_for_tensorflow/versions/1/files/model.ckpt-1000000.meta
Option 2: Download from NGC website:
- In your browser, navigate to the model repo page.
- In the top right corner, choose Download.
- After the zip file finishes downloading, run the following command to unzip in your training machine:
unzip files.zip -d $MODEL_DIR
You should get three model checkpoint files in the directory of your choice.
Model scripts for data downloading and fine-tuning
In addition to the pretrained model weights, NGC also contains many useful scripts for working with each model. This model contains several improvements to ensure optimal performance, such as a fused Adam optimizer, fused CUDA kernels for LayerNorm, and Automatic Mixed Precision (AMP) support.
To download the model scripts:
- In your browser, open the model scripts page.
- Choose Download Latest Version and save to the desired directory.
Alternatively, download the model script from the NVIDIA Deep Learning Examples GitHub repo, using the following commands:
git clone https://github.com/NVIDIA/DeepLearningExamples.git
cd DeepLearningExamples/TensorFlow/LanguageModeling/BERT/
In this post, you work out of the BERT directory. Whether you downloaded using the NGC webpage or GitHub, the directory is referenced as $BERT_DIR.
In this post, we demonstrate the use of BERT assets in TensorFlow. However, if you are interested in PyTorch, we also have equivalent TensorFlow assets: container, pretrained model, and model scripts.
Setting up a Docker container
Launch the TensorFlow container, with two mounted volumes:
- One for the BERT model scripts code repo, mounted to /workspace/bert
- One for the downloaded, pretrained model, mounted to /pretrained-model-bert
 docker run --gpus all -it \
  -v $BERT_DIR:/workspace/bert \
  -v $MODEL_DIR:/pretrained-model-bert  \
  nvcr.io/nvidia/tensorflow:20.01-tf1-py3
After you run the container, navigate to the BERT workspace that contains the model scripts:
cd /workspace/bert/
The BERT model scripts directory contains many useful files. For this post, focus on just the following files:
- scripts/run_squad.sh
- This script calls run_squad.py for fine-tuning and gives an example of the parameters to pass in.
bash scripts/run_squad.sh <batch_size_per_gpu> <learning_rate_per_gpu> <precision> <use_xla> <num_gpus> <seq_length> <doc_stride> <bert_model> <squad_version> <checkpoint> <epochs>
- data/bertPrep.py
- This file handles downloading and preprocessing the data into the necessary format.
- Both the pretrained model weights and the vocab file can be downloaded using the `–action download` command.
- For this to work, you must first export the environment variable $BERT_PREP_WORKING_DIR. This directory is where the download/ folder is created, and all datasets are downloaded.
In the bertPrep.py script, if the line import PubMedTextFormatting gives any errors, comment this line out, as you are not using the PubMed dataset in this example.
Preparing the dataset
You are fine-tuning the BERT model using the SQuAD 1.1 dataset. For more information about this dataset, see SQuAD2.0: The Stanford Question Answering Dataset.
export BERT_PREP_WORKING_DIR="/workspace/bert/data"

python3 /workspace/bert/data/bertPrep.py --action download --dataset squad
This script downloads two folders in BERT_PREP_WORKING_DIR/download/squad/: v2.0/ and v1.1/. For this post, you use v1.1/.
Before you run fine-tuning, you must download the vocab file. Run the following command:
python3 /workspace/bert/data/bertPrep.py --action download --dataset google_pretrained_weights
This command downloads the Google pretrained weights as well. In this task, you only need the vocab file downloaded.
Now you should have two folders within /workspace/bert/data/download: squad/ and google_pretrained_weights.
Running fine-tuning
Fine-tuning allows you to quickly and efficiently adapt the pretrained model to the current dataset, benefiting from previous data and training.
After the preparation in the previous sections, you can finally run the following command for fine-tuning:
bash scripts/run_squad.sh 5 5e-6 fp16 true 4 384 128 large 1.1 /pretrained-model-bert/model.ckpt-1000000 1.5
By default, this script first fine-tunes then evaluates. The fine-tuning time for 1.5 epochs is roughly 40 minutes. For more information, see the default parameters in scripts/run_squad.sh.
Results of fine-tuning
After 1.5 epochs, you have your fine-tuned model in the output directory specified in the following line:
run_squad.sh: RESULTS_DIR=/results/${TAG}_${DATESTAMP}
By default, use the following command when running run_squad.py:
run_squad.sh sets --do_predict=True
At the end of fine-tuning, you see the following results:
{"exact_match": 83.55723746452223, "f1": 90.32224331650207}
To evaluate the new, fine-tuned model or any model, you can use the same scripts/run_squad.sh script after modifying --do_train=False.
bash scripts/run_squad.sh 5 5e-6 fp16 true 4 384 128 large 1.1 /path-to-model/model.ckpt 1.5
The main difference between this command and the earlier training command are the following:
- You specify the model path in the first argument to be the fine-tuned model, instead of the pretrained model.
- Because you manually edited
--do_train=Falsein run_squad.sh, the training-related parameters passed into run_squad.sh don’t matter anymore.
The previous evaluation command gives you an idea of how a model performs on the SQuAD dataset with the specified version (1.1 or 2.0). Fine-tuning for 1.5 epochs gives you the following result:
{"exact_match": 83.55723746452223, "f1": 90.32224331650207}
These scores are good for only training for such a short period of time. An exact match score of 83.5% is close to the human performance of 86.38%. What if you compare this to the accuracy before fine-tuning? You can test that by swapping out the checkpoint file and re-running the evaluation script:
bash scripts/run_squad.sh 5 5e-6 fp16 true 4 384 128 large 1.1 /workspace/bert/data/download/google_pretrained_weights/uncased_L-24_H-1024_A-16/bert_model.ckpt 1.5
The previous command generates the following result:
{"exact_match": 0.12298959318826869, "f1": 7.127726653784087}
The pretrained model performs poorly, and fine-tuning BERT for only 1.5 epochs raised the Exact Match score by 83%.
Fine-tuning with other datasets
In the preceding example, you fine-tuned BERT for question-answering tasks with the SQuAD dataset. However, there are more tasks for which BERT can be fine-tuned.
GLUE (General Language Understanding Evaluation) consists of multiple tasks. This repo supports the fine-tuning of BERT for three tasks: CoLA, MRPC, and MNLI.
For fine-tuning with any of the three GLUE tasks, run the following command:
bash scripts/run_glue.sh <task_name> <batch_size_per_gpu> <learning_rate_per_gpu> <precision> <use_xla> <num_gpus> <seq_length> <doc_stride> <bert_model> <epochs> <warmup_proportion> <checkpoint>
For more information about the fine-tuning scripts for the CoLA, MRPC and MNLI tasks, see scripts/run_glue.sh and run_classifier.py. For a complete data download including datasets for pretraining, run data/create_datasets_from_start.sh. Otherwise, you can download each fine-tuning dataset individually, as shown in the following sections on CoLA, MRPC, and MNLI.
CoLA
The Corpus of Linguistic Acceptability (CoLA) consists of 10K+ sentences annotated for acceptability (grammaticality) by the original authors.
You can download the CoLA dataset using the script bertPrep.py:
python3 ${BERT_PREP_WORKING_DIR}/bertPrep.py --action download --dataset "CoLA"
Because CoLA is a classification task, you can modify the CoLA scripts for fine-tuning other custom classification datasets.
MRPC
The Microsoft Research Paraphrase Corpus (MRPC), aimed at determining the semantic equivalence of sentence pairs, contains 5800 sentence pairs.
You can download the MRPC dataset using the script bertPrep.py:
python3 ${BERT_PREP_WORKING_DIR}/bertPrep.py --action download --dataset "MRPC"
MNLI
The MultiNLI is modeled on the SNLI corpus, and consists of 433K sentence pairs annotated with textual entailment information.
You can download the MNLI dataset using the script bertPrep.py:
python3 ${BERT_PREP_WORKING_DIR}/bertPrep.py --action download --dataset "MNLI"
Next steps
Pull a deep learning container on your GPU-powered system or on a cloud instance today and retrain a pretrained model using your dataset with the steps in this post.
