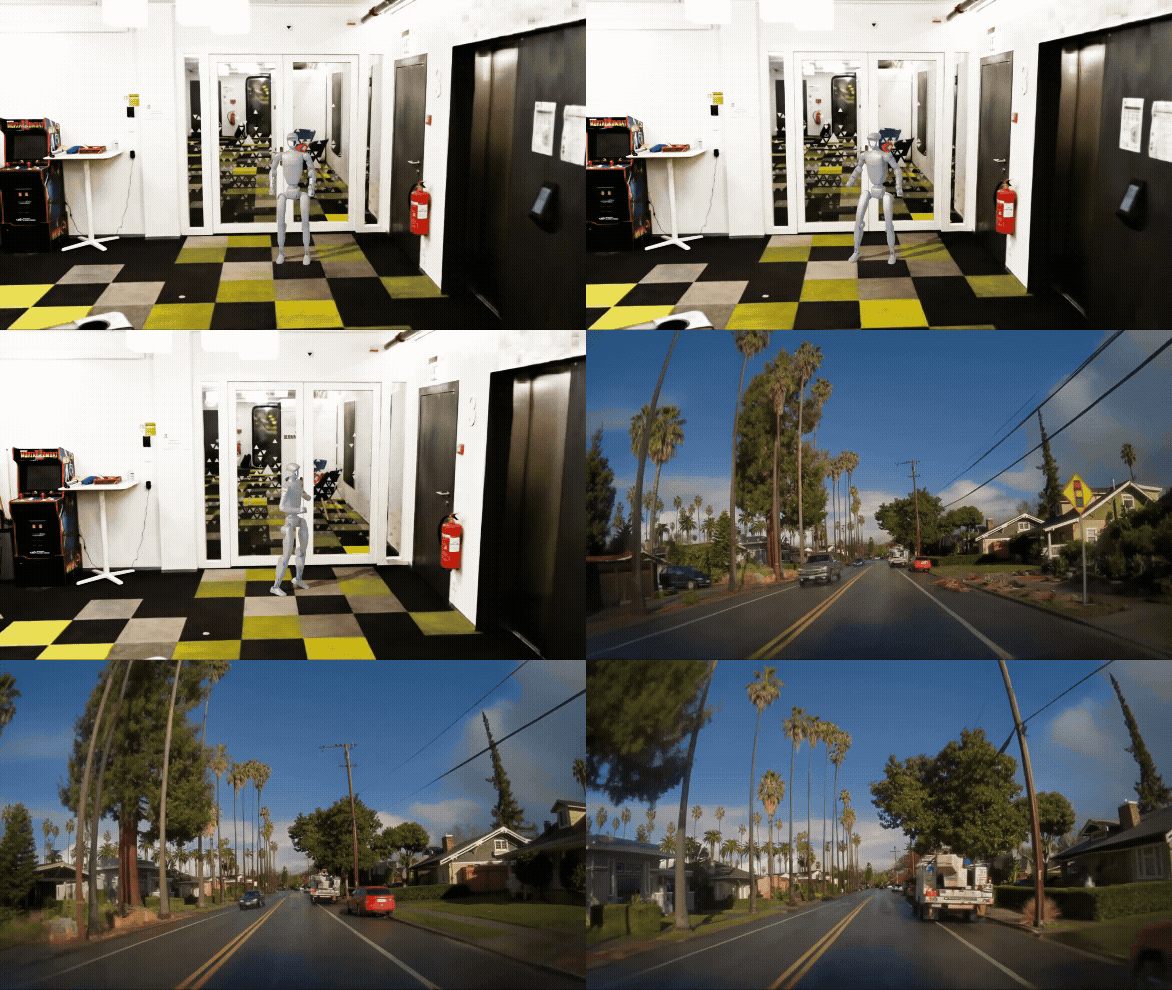
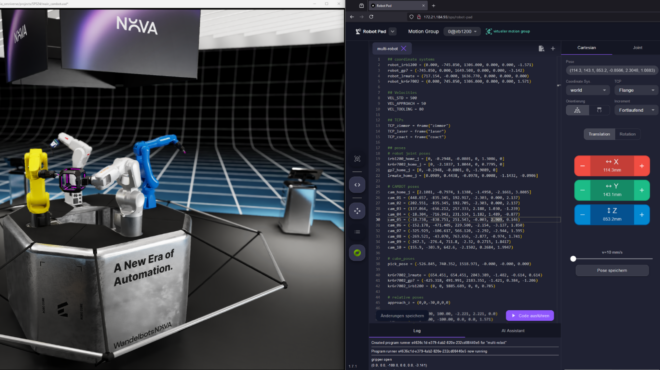
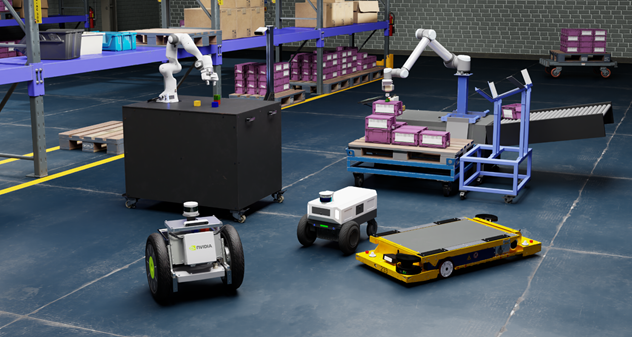
Building realistic 3D environments for robotics simulation has traditionally been a labor-intensive process, often requiring weeks of manual modeling and setup. Now, with generative world models, you can go from a text prompt to a photorealistic, simulation-ready world in a fraction of time. By combining NVIDIA Isaac Sim, an open source robotics reference framework, with generative models such as Marble from World Labs , you can create entire 3D scenes for robotics development from a text or image prompt.
World Labs recently published the case study “Scaling Robotic Simulation with Marble,” showing how researchers are using Marble’s generative worlds to accelerate robot training, testing, and sim-to-real transfer.
In this tutorial, we’ll walk through an end-to-end workflow:
- Scene export: Export an existing scene from Marble gallery as Gaussian splats (PLY) and a collider mesh (GLB)
- Scene conversion: Convert the Marble outputs to USD format using NVIDIA Omniverse NuRec
- Scene import and construction: Import into NVIDIA Isaac Sim
- Simulation in Isaac Sim: Add a robot and run the simulation.
By the end, you’ll have a realistic virtual environment where robots can interact physically, all generated far more quickly than by traditional methods. Let’s dive in.
Step 1: Get a 3D kitchen scene from World Labs Marble
World Labs Marble produces rich visual detail and geometric data like depth and surface normals, along with an exportable collider mesh for physical simulation.
For this tutorial, instead of generating a new kitchen from scratch, we’ll use a pre-made Marble kitchen scene that’s available in Marble’s example gallery. This saves time and ensures we have a realistic environment ready to go. The chosen scene is a detailed kitchen and living room interior, complete with furniture and typical kitchen items.
Steps to export the kitchen world from Marble:
- Log in to Marble: Sign in to your Marble account on the web. Once logged in, navigate to the pre-made kitchen scene.
- Open the scene: Click on the world to load it in Marble’s 3D viewer. You can explore it with WASD controls and mouse as if you were in a game, to verify it looks good.
- Download the world: Find the Download button in the bottom bar of Marble’s interface.
- Select “Splats (PLY)” to download a Gaussian splat representation. Marble’s Gaussian splat is provided as a .ply file, which contains millions of semi-transparent particles representing the scene with high fidelity.
- Select “Collider Mesh (GLB)” to download the triangle mesh of the scene. This will contain the geometry of the kitchen as a standard glTF model.
Note that exporting PLY and GLB files in World Labs Marble requires a paid plan. If you don’t have one, World Labs provides sample PLY and GLB files from its gallery. For this tutorial, we will use the kitchen scene PLY and GLB files as our example. Save the files as MarbleKitchenwithLight.ply and MarbleKitchenwithLight_collider.glb.
At this point, we have our kitchen environment in two forms—as Gaussian splats and as a triangle mesh. Each serves a different purpose: The PLY captures the full visual detail of the scene, and the GLB provides the mesh geometry needed for physics and collisions in simulation.
Step 2: Convert downloaded PLY into USDZ
NVIDIA Isaac Sim uses Universal Scene Description (USD) as its scene format. To use our Marble-generated world in Isaac Sim, we need to convert the exported PLY into USD format. We will then import it, taking advantage of NVIDIA Omniverse NuRec capabilities to render the point-based scene efficiently.
At the core of NuRec is the 3DGUT algorithm for Gaussian-based reconstruction and rendering. The NVIDIA 3DGRUT repository contains a script to convert a .ply splat file into a USDZ file, a zip-compressed archive that contains USD-specific data. We will use this to convert our Marble PLY:
1. Set up 3DGRUT: Clone the 3DGRUT repository and install its environment. In this tutorial, we set up 3DGRUT inside a dedicated Conda environment named “3dgrut.”
The environment requires Linux with an NVIDIA GPU, CUDA 11.8+, and GCC 11 or lower. If you already have a Python environment with the needed libraries (PyTorch, etc.), you can alternatively just run the conversion Python script in that environment.
git clone --recursive https://github.com/nv-tlabs/3dgrut.git
cd 3dgrut
chmod +x install_env.sh
./install_env.sh 3dgrut
conda activate 3dgrut
2. Convert PLY to USDZ: Once 3DGRUT is set up, use the provided conversion script to turn the Marble point cloud into USDZ:
$ python -m threedgrut.export.scripts.ply_to_usd \
      /path/to/MarbleKitchenwithLight.ply \
      --output_file /path/to/MarbleKitchenwithLight.usdz
This command will read the .ply file and produce a .usdz file. USDZ uses a custom USD schema (an extension of UsdVolVolume) to represent the Gaussian splats in a way that Omniverse can render. Essentially, it embeds the point cloud as a volumetric primitive, preserving the visual fidelity of the Marble scene. For more details on NuRec neural volumes and how they are rendered in Omniverse, see the NuRec Rendering documentation.
Now, we have one USDZ file and one GLB file:
- MarbleKitchenwithLight.usdz – the visual splat world
- MarbleKitchenwithLight_collider.glb – the collider mesh we’ll use for physics.
Step 3: Import USDZ/GLB into Isaac Sim and construct the scene
After generating the USDZ file, the next step is to bring the kitchen scene into Isaac Sim, align the mesh with the Gaussian splats, and add physics and lighting so it is ready for interaction.
Since we are editing the scene contents, we need to extract the USDZ archive. Unzip the file and open the default.usda file generated, then go through the following steps:
Geometrically align the Gaussian volume:
We want to make sure that the origin of the imported scene and its scale matches Isaac Sim. In order to do that:
- Add a ground plane to the scene. This will be used as a reference for the ground of the imported Gaussian volume, and serve as a smooth collider.
- The imported Gaussian volume is contained in an “xform” primitive, which is used to transform the volume. To align the volume with the floor, select the xform primitive and adjust its “Translate” values so the floor of the kitchen sits exactly on the ground plane. Use the ground plane as a visual reference and move the Gaussian volume until the point cloud’s floor coincides with it.
- The generated scene may be smaller or larger than the real-world scale. To roughly match the real-world scale, we can use a default cube as a visual reference, which has 1 meter side length. After inserting a cube object, we can adjust the overall X, Y, and Z scaling accordingly. For our example kitchen scene, a factor of 2 for the scaling gives roughly the right sizing, e.g., for the cabinet and stove.
- Finally, fine-tune the rotation of the xform primitive to make sure the Gaussian point cloud aligns with the ground plane as accurately as possible. A simple way to verify this is to use the tiles on the kitchen wall as a reference and rotate the Gaussian such that they are completely parallel to the ground plane created. Once aligned, move the ground plane back down so it sits exactly at the kitchen floor level.
Add physics and lighting to the scene:
Now that we have aligned the imported Gaussians, we want to add physics and lighting so that shadows and object interactions work as expected.
We will use the cube that we previously created to adjust the scene scale again to test shadows and physics.
- In the collision mesh of the ground plane, turn on the matte object property. This ensures it works properly as a shadow receiver.
- Add a dome light to the scene.
- Select the ‘gauss’ Volume prim in the stage window, then in the property window, scroll down to “Raw USD Properties” and click the triangle to reveal additional settings. Then, scroll to the “proxy” field, and click on “Add Target.” Finally, select the GroundPlane CollisionMesh as the target.
Move the cube around to ensure shadows show up as expected.
On setting the cube as a rigid body with colliders and hitting play in the simulation, the cube interacts with the ground plane as expected. However, it “goes through” the Gaussians. Let us now move on to setting up the physics of the Gaussian representation.
The collision information for the Gaussians is in the GLB file. Import this mesh, align it with the Gaussian volume, and enable it as a collider.
- Drag and drop the MarbleKitchenwithlight_collider.glb file under the Gaussian volume. Make sure it is under the Gaussian volume, as the hierarchy is important. The collider will show up in the scene.
- Zoom out of the scene a little and set the X rotation to -90 to match the coordinate conventions of the Gaussian volume. Now the rendered volume and the collision mesh align completely.
- Enable the physics collider preset for the imported collision mesh.
- Turn off the visibility for the collider as it is overlaid with the Gaussian volume. This affects only the visuals of the scene; physics will use the colliders we just set up in the scene.
The geometry, physics, and lighting for the scene are now in good shape: The Gaussian volume provides the photoreal visuals, while the GLB collider and ground plane handle physics and shadows. The scene is now ready for a robot to be added.
Step 4: Add a robot and run the simulation
With the kitchen scene aligned and physics enabled, the final step is to add a robot and drive it around to validate the setup.
- Drag and drop the NVIDIA Nova Carter robot into the scene.
- Add a differential controller for the robot with and enable keyboard control. This will create the necessary action graph, which allows us to use our keyboard to move the robot around.
- Change to a camera mounted on the robot and hit play. Move the robot around with WASD and verify that it respects the kitchen geometry: It should rest on the floor, collide with counters and furniture, and not fall through the scene.
At this point, the Marble kitchen scene is fully integrated into Isaac Sim as a physics-enabled environment, and you can drive robots interactively through it.
Summary
In this tutorial, we downloaded an AI-generated 3D environment complete with geometry and then brought it into Isaac Sim as a simulation-ready scene. We set up robots in an AI-generated world. The end-to-end workflow here can now be completed in mere hours. This ability to rapidly generate various high-fidelity worlds unlocks more scalable robot development in simulation. With Marble and Isaac Sim, if you can describe a world, you’ll likely be able to start testing it the same day.
To learn more, try the following:
- Create your own custom environment with World Labs Marble – You can start with a text description, a single image, multiple photos from different angles, or even a rough 3D layout.
- Create your own custom environment with input image and use it for Isaac Sim with Lyra, an NVIDIA research initiative on generative 3D scene reconstruction via video diffusion model.
Learn more about simulation innovations and meet with NVIDIA experts at SIGGRAPH Asia, taking place Dec. 15 to 18 at the Hong Kong Convention and Exhibition Centre.


