
NVIDIA Highlights enables players to capture in-game moments automatically based on events occurring during gameplay. Highlights represents a key feature in NVIDIA’s ShadowPlay automated screen capture software. (You can check out more information about ShadowPlay here).
This blog introduces basic concepts a developer needs to implement the NVIDIA Highlights plugin for the Unity game engine.
Getting Set Up
The plugin works with both Pro and Free versions of Unity. NVIDIA built the plugin on Unity 5 and the plugin maintains compatibility with future versions of the engine. This technology requires a compatible NVIDIA GPU, supporting any Maxwell generation (GTX 9xx) GPU or later. The plugin interfaces with Geforce Experience in the background so a compatible version of GeForce Experience needs to be installed. Developers can download the latest GeForce Experience client here.
The NVIDIA Highlights plugin currently supports only 64-bit Windows. You can download the plugin from the Unity Asset Store. The package contains a Plugins subfolder with the required DLLs (Dynamic Link Libraries) and a Scripts folder which adds a script when the plugin is imported into your Unity project. More detailed description of the plugin, its requirements, and its use may be found in the included documentation. You’ll also find summaries of all the API calls that can be used.
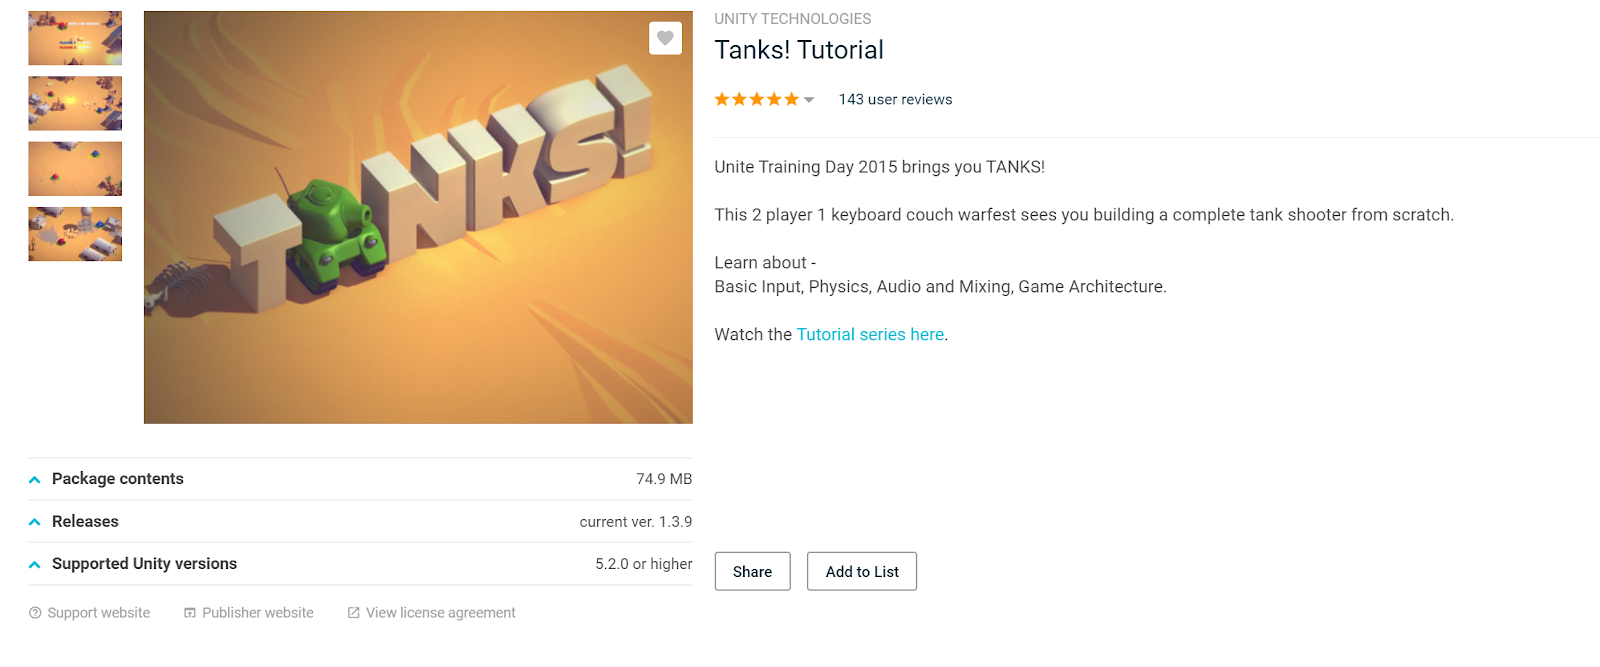
We’ll use the Tanks! project that is available for free on the Unity Asset Store for this tutorial. Tanks is a simple, but complete, game which allows us to fully demonstrate how Highlights can enhance a game.
Easy Integration
First thing to do would be to download the Tanks! tutorial from the Unity Asset Store. After downloading the Tanks! tutorial, we then import the NVIDIA Highlights Plugin into the project. Since Tanks! is a Unity tutorial game, make sure you download the complete version.
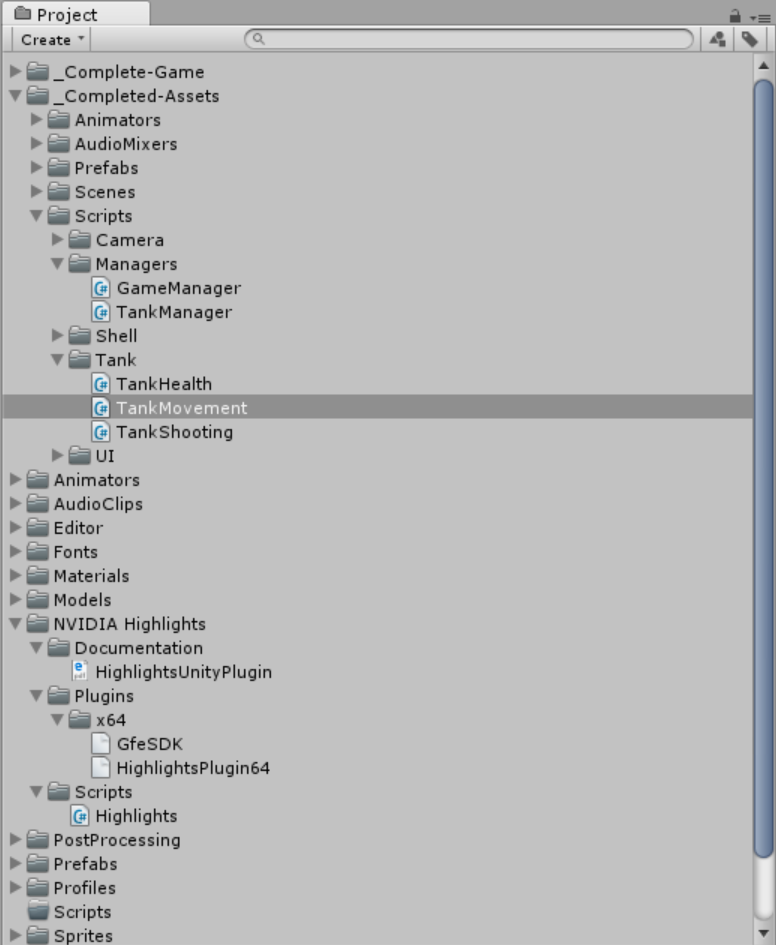
Launch the _Complete-Game.unity scene and make sure you modify only the scripts in the _Completed-Assets/Scripts folder. The other Scripts folder in the root directory may even be deleted to avoid confusion but make sure you copy over the Highlights/Highlights.cs file over to the _Completed-Assets/Scripts folder before deleting. Figure 2 shows the project view after the import.
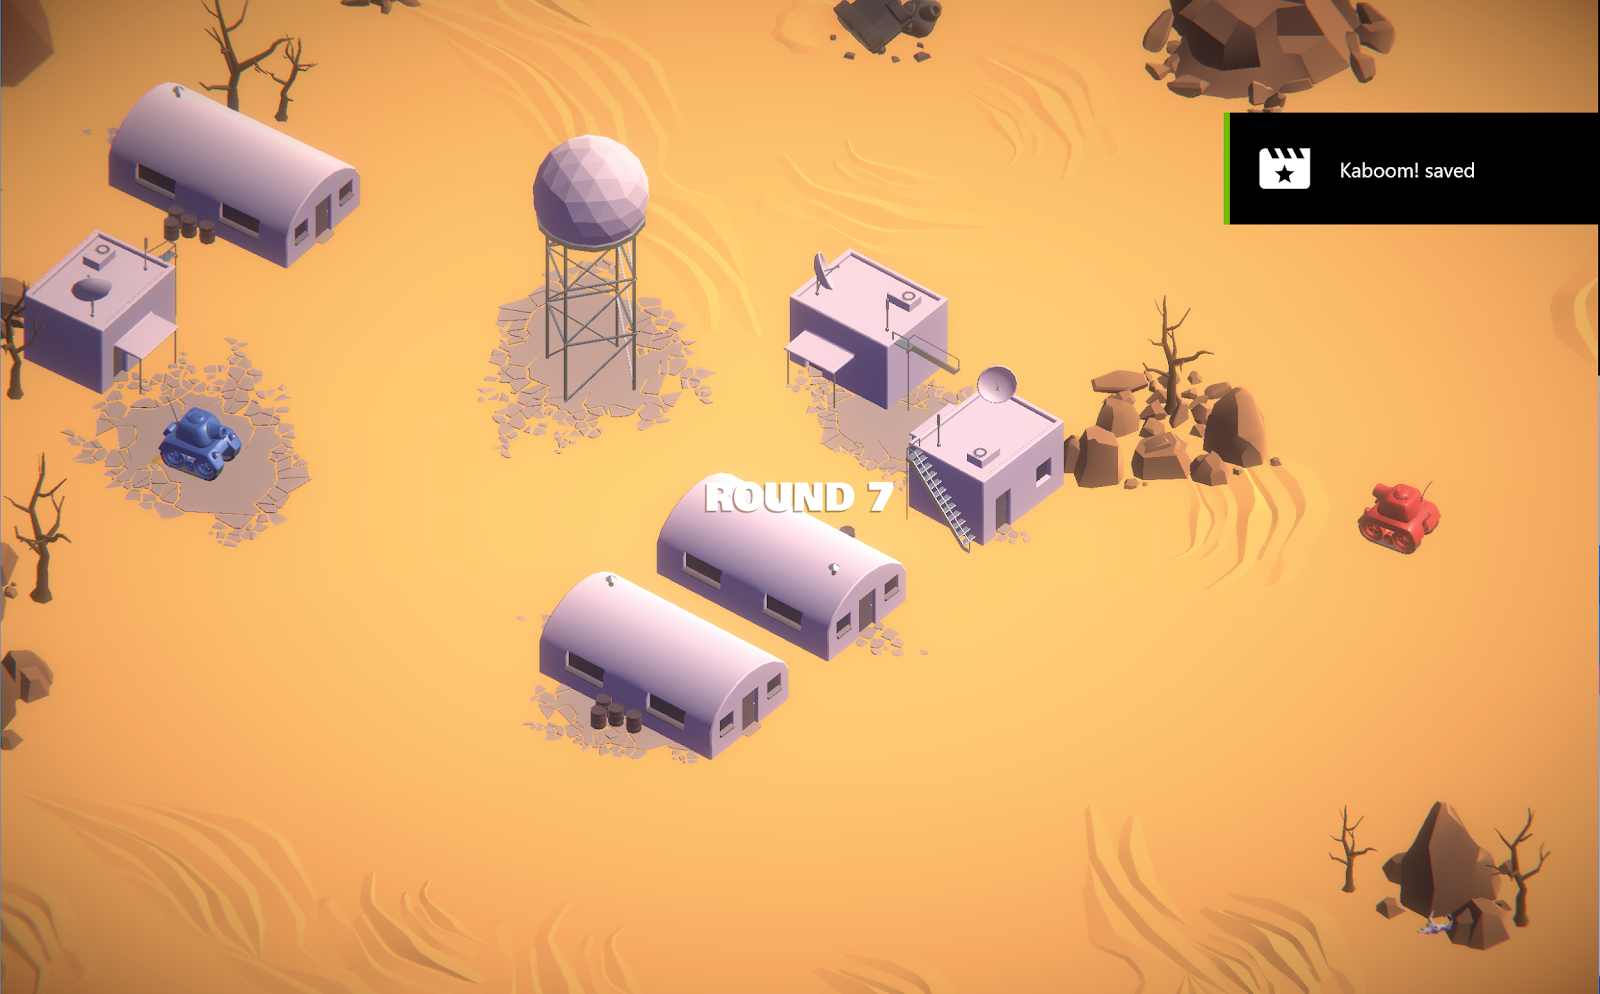
Capturing climactic gameplay motions is the key idea behind NVIDIA Highlights. We will be modifying the Tanks! demo to add Highlights for three highlight events:
- “Kaboom!” Screenshot Highlight that triggers every alternate round when either tank is destroyed
- “Hurt Me Plenty” Video Highlight that records from three seconds before, to two seconds after a tank has been destroyed in the third round.
- “Heavy Duty Traveler” Screenshot Highlight after a tank has traveled more than a specified total distance.
- Show a summary of all Highlights after a game session (5 wins).
Initialization
We begin by picking a script to add into our initial Highlights configuration code. The game already has a GameManager.cs script that takes care of most of the initialization that happens for all objects in the game, making for a good starting point. Let’s first add a SetupHighlights function right at the bottom of the script within the scope of the GameManager class:
void SetupHighlights()
{
    // Create Highlights SDK
    // Request Permissions
    // Configure Highlights
    // Open Groups
}
In order to use the API available in the Highlights.cs script, we use the namespace NVIDIA. Let’s include this right at the top of the GameManager.cs script along with the other using calls:
using System.Collections;
using UnityEngine;
using UnityEngine.SceneManagement;
using UnityEngine.UI;
using NVIDIA;
Now we want to populate the various sections of this function. Let’s start with creating the Highlights SDK.
We first create a list of all the required scopes. The Highlights scope is required by default. We also want the HighlightsRecordVideo and HighlightsRecordScreenshot scopes. We then provide an app name and invoke the CreateHighlightsSDK call with these arguments.
// Create Highlights SDK
Highlights.HighlightScope[] RequiredScopes = new
Highlights.HighlightScope[3] {
    Highlights.HighlightScope.Highlights,
    Highlights.HighlightScope.HighlightsRecordVideo,
    Highlights.HighlightScope.HighlightsRecordScreenshot
};
System.String AppName = "Tanks";
if (Highlights.CreateHighlightsSDK(AppName, RequiredScopes)!=Highlights.ReturnCode.SUCCESS)
{
    Debug.LogError("Failed to initialize Highlights");
    return;
}
Next, we need to request user permissions. This normally might be part of a menu option where the player chooses to enable or disable Highlights. For simplicity, let’s put it in the same function that creates the SDK.
// Request Permissions
Highlights.RequestPermissions();
Now we can configure the three Highlights discussed earlier into the game. Each Highlight includes:
- an ID
- a tag
- significance level
- user default interest level
- And finally, a translation table
The documentation offers more details on these fields and so you should consult it for up-to-date information on all properties and their roles. The “Hurt Me Plenty” and “Heavy Duty Traveler” Highlights will be “Achievements” and the “Kaboom!” Highlight will be an “Incident”. These can be modified in any way the developer deems logical. Tags and significance level create filters when showing a summary of all Highlights captured.
Note that a Highlight is not assigned to be a screenshot or video in the definition — the same Highlight ID can be used for both screenshot and video. The NameTranslationTable is used to provide translations into various languages. The text mentioned here will appear on the Highlight notification. The code below defines the various Highlights needed for the session. The HighlightsDefinition array contains all the Highlight definitions needed. This is passed into the ConfigureHighlights function:
// Configure Highlights
Highlights.HighlightDefinition[] highlightDefinitions = new
Highlights.HighlightDefinition[3];

highlightDefinitions[0].Id = "HURT_ME_PLENTY";
highlightDefinitions[0].HighlightTags = Highlights.HighlightType.Achievement;

highlightDefinitions[0].Significance =
Highlights.HighlightSignificance.Good;

highlightDefinitions[0].UserDefaultInterest = true;
highlightDefinitions[0].NameTranslationTable = new Highlights.TranslationEntry[] {
    new Highlights.TranslationEntry ("en-US", "Hurt me plenty"),
};

highlightDefinitions[1].Id = "KABOOM";
highlightDefinitions[1].HighlightTags = Highlights.HighlightType.Incident;
highlightDefinitions[1].Significance = Highlights.HighlightSignificance.Good;
highlightDefinitions[1].UserDefaultInterest = true;
highlightDefinitions[1].NameTranslationTable = new Highlights.TranslationEntry[] {
    new Highlights.TranslationEntry ("en-US", "Kaboom!"),
};

highlightDefinitions[2].Id = "HEAVY_DUTY_TRAVELER";
highlightDefinitions[2].HighlightTags =
Highlights.HighlightType.Achievement;
highlightDefinitions[2].Significance =
Highlights.HighlightSignificance.Good;
highlightDefinitions[2].UserDefaultInterest = true;
highlightDefinitions[2].NameTranslationTable = new
Highlights.TranslationEntry[] {
    new Highlights.TranslationEntry ("en-US", "Heavy Duty Traveler"),
};

Highlights.ConfigureHighlights(highlightDefinitions);
The last part in this function creates Highlight groups, which can be used for grouping various Highlights when displaying a summary:
// Open Groups
Highlights.OpenGroupParams ogp1 = new Highlights.OpenGroupParams();
ogp1.Id = "SHOT_HIGHLIGHT_GROUP";
ogp1.GroupDescriptionTable = new Highlights.TranslationEntry[] {
    new Highlights.TranslationEntry ("en-US", "Shot Highlight Group"),
};
Highlights.OpenGroup(ogp1);

Highlights.OpenGroupParams ogp2 = new Highlights.OpenGroupParams();
ogp2.Id = "MISC_GROUP";
ogp2.GroupDescriptionTable = new Highlights.TranslationEntry[] {
    new Highlights.TranslationEntry ("en-US", "Misc Group"),
};
Highlights.OpenGroup(ogp2);
Now we’re done defining the SetupHighlights function; next we need to call it at the appropriate time. The Start function looks like a good place to put this. Let’s go ahead and add it after the SetCameraTargets function:
private void Start()
{
    // Create the delays so they only have to be made once.
    m_StartWait = new WaitForSeconds (m_StartDelay);
    m_EndWait = new WaitForSeconds (m_EndDelay);

    SpawnAllTanks();
    SetCameraTargets();

    SetupHighlights();
// Once the tanks have been created and the camera is using them as targets, start the game.
StartCoroutine (GameLoop ()); }
That should take care of the initialization needed. We want to be able to get any debug information from GeForce Experience in case the initialization process ran into trouble. This can be achieved by including the following in the Update loop in the script:
private void Update()
{
    // This will update any debug information from the Geforce Experience SDK.
    Highlights.UpdateLog();
}
Once the game exits, we need to perform cleanup on the Highlights by releasing the SDK. This is achieved by adding a ReleaseHighlightsSDK call in the OnDestroy function of the GameManager.cs script:
private void OnDestroy()
{
    Highlights.ReleaseHighlightsSDK ();
}
Triggering Highlights Capture and Summary
Now that initialization and cleanup stages are complete, all that’s left to do is to plug the logic in for capturing the Highlights at the moments that we want.
We want to trigger the screenshot highlight at the end of every alternate round, so let’s start with the “Kaboom” Highlight. The RoundPlaying coroutine includes a while loop which continues to loop as long as more than one tank is in the session. Once a tank has been destroyed, execution proceeds beyond this loop. This would be a good place to drop in code to trigger the screenshot. We make use of the ScreenshotHighlightParms structure to provide the Highlight ID and group ID that we want our screenshot to associate with and then we use the SetScreenshotHighlight function to trigger the screenshot:
// Trigger 'Kaboom' highlight every other round
if (m_RoundNumber % 2 == 0)
{
    // Create a screenshot highlight 'Kaboom' and associate it with the 'Shot Highlight Group' group.
    Highlights.ScreenshotHighlightParams shp = new
Highlights.ScreenshotHighlightParams();
    shp.groupId = "SHOT_HIGHLIGHT_GROUP";
    shp.highlightId = "KABOOM";
    Highlights.SetScreenshotHighlight(shp);
}
Let’s do something similar for the “Hurt Me Plenty” Highlight.
“Hurt Me Plenty” is a video Highlight which takes two additional parameters: one for the start delta and one for the end delta for the capture, in milliseconds. The start delta and end delta can both be negative values as well (indicating events in the past):
// Trigger 'Hurt Me Plenty' video highlight after the third round
if (m_RoundNumber == 3)
{
    // Create a video highlight 'Hurt Me Plenty' and associate it with the 'Shot Highlight Group' group.
    Highlights.VideoHighlightParams vhp = new
Highlights.VideoHighlightParams();
    vhp.groupId = "SHOT_HIGHLIGHT_GROUP";
    vhp.highlightId = "HURT_ME_PLENTY";
    // Provide start and end times for the video being captured.
Negative values indicate events in the past. Unit is milliseconds
    vhp.startDelta = -3000;
    vhp.endDelta = 2000;
    Highlights.SetVideoHighlight(vhp);
}

The next logic we want to code is for the “Heavy Duty Traveler” achievement. For this we need to do some ground work because the current game lacks a variable to store the total distance traveled by the tank. We also want to trigger this achievement only once. For this we will use a flag that we can declare just below the variable definitions in the GameManager class:
private bool HeavyDutyTravelerAchievement = false;
Let’s modify the TankMovement.cs script to calculate the distance the tank travels. We first create a variable to store the total distance traveled by the tank, after the other variable definitions in the TankMovement class:
private float m_DistanceTraveled = 0.0f;
Next, we compute and store the total distance traveled in the Move function. Since the movement vector is already being calculated, all we need do is add the magnitude of this vector to the total distance traveled:
m_DistanceTraveled += movement.magnitude;
Since the m_DistanceTraveled variable is private, we need a getter function to get this value outside this class. One way to accomplish this is to simply create a get function within the TankMovement class like so:
public float GetDistanceTraveled()
{
    return m_DistanceTraveled;
}
That’s all the modification needed in the TankMovement class. The GameManager class does not directly interact with the TankMovement class so we need to forward the distance traveled data from the TankManager class which indeed has a TankMovement class property. We do this by adding a public DistanceTraveled function:
public float DistanceTraveled()
{
    return m_Movement.GetDistanceTraveled();
}
That’s really the only change we need to make to the TankMovement.cs script.
Now we define a TraveledGoodDistance function in the GameManager class, which lies inside the GameManager.cs script. TraveledGoodDistance returns “true” if the tank has traveled more than TriggerDistance units:
// This function checks if the player tank has traveled a certain distance
private bool TraveledAGoodDistance()
{
    const float TriggerDistance = 200.0f;
    if (m_Tanks.Length > 0)
    {
        // ... and if traveled TriggerDistance
        if (m_Tanks[0].DistanceTraveled() > TriggerDistance)
            return true;
    }

    return false;
}
Now let’s return to the RoundPlaying function. Inside the while loop which checks if there is only one tank left, We add code inside the while loop which checks for the last tank left, which allows us trigger the achievement if true. We add the “Heavy Duty Traveler” Highlight to the “Misc Group” group:
// Trigger the 'Heavy Duty Traveler' highlight if the tank has covered a specified distance
if (!HeavyDutyTravelerAchievement && TraveledAGoodDistance())
{
    // Create a screenshot highlight 'Heavy Duty Traveler' and associate it with the 'Misc Group' group.
    Highlights.ScreenshotHighlightParams shp = new Highlights.ScreenshotHighlightParams();
    shp.groupId = "MISC_GROUP";
    shp.highlightId = "HEAVY_DUTY_TRAVELER";
    Highlights.SetScreenshotHighlight(shp);

    HeavyDutyTravelerAchievement = true;
}
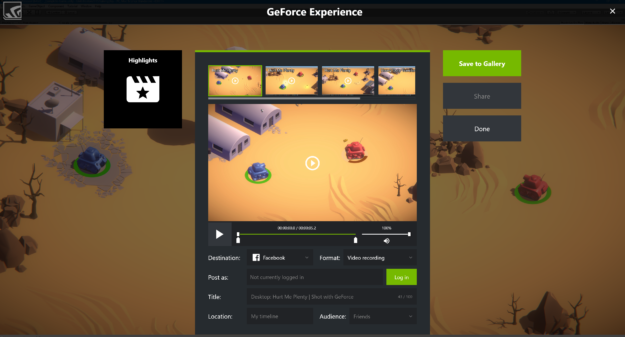
Now we’ve added all the logic required for capturing Highlights. Next, we want to display them using an in-game overlay. An ideal time occurs when we have a winner in the game, which happens after five individual round victories. Let’s first create the ShowHighlightsSummary function in the GameManager class. We need to define an array of group views for the summary view. Each group view specifies the ID of the group and filters if desired. Finally, the OpenSummary call shows the overlay:
void ShowHighlightsSummary()
{
    Highlights.GroupView[] groupViews = new Highlights.GroupView[2];
    Highlights.GroupView gv1 = new Highlights.GroupView();
    gv1.GroupId = "SHOT_HIGHLIGHT_GROUP";
    gv1.SignificanceFilter = Highlights.HighlightSignificance.Good;
    gv1.TagFilter = Highlights.HighlightType.Achievement;
    groupViews[0] = gv1;

    Highlights.GroupView gv2 = new Highlights.GroupView();
    gv2.GroupId = "MISC_GROUP";
    gv2.SignificanceFilter = Highlights.HighlightSignificance.Good;
    gv2.TagFilter = Highlights.HighlightType.Achievement;
    groupViews[1] = gv2;

    Highlights.OpenSummary(groupViews);
}
We would like to invoke this after a winner is declared. This happens in the GameLoop function, so we add the call to ShowHighlightsSummary in the conditional statement as follows:
if (m_GameWinner != null)
{
    // Show highlights summary after game win
    ShowHighlightsSummary();

    // If there is a game winner, restart the level.
    SceneManager.LoadScene (0);
}
And that’s all there is to it!
If initialized correctly, the highlights should show up for the various events previously discussed when we run the game.
You can download the completed “NVIDIA Tanks!” project from the Unity Assets Store.
Get Started with NVIDIA Highlights today
NVIDIA Highlights is easy to integrate into a Unity project and makes capturing and sharing your favorite gaming moments a breeze. It uses Shadowplay technology which handles all the video and frame capture in the background with no impact to gameplay. Players appreciate the ability to share their achievements and victories with others. Feel free to download the complete NVIDIA Tanks! tutorial demo — it’s free from the Unity store. Try the plugin today and take the next step creating gaming memories for your audience.