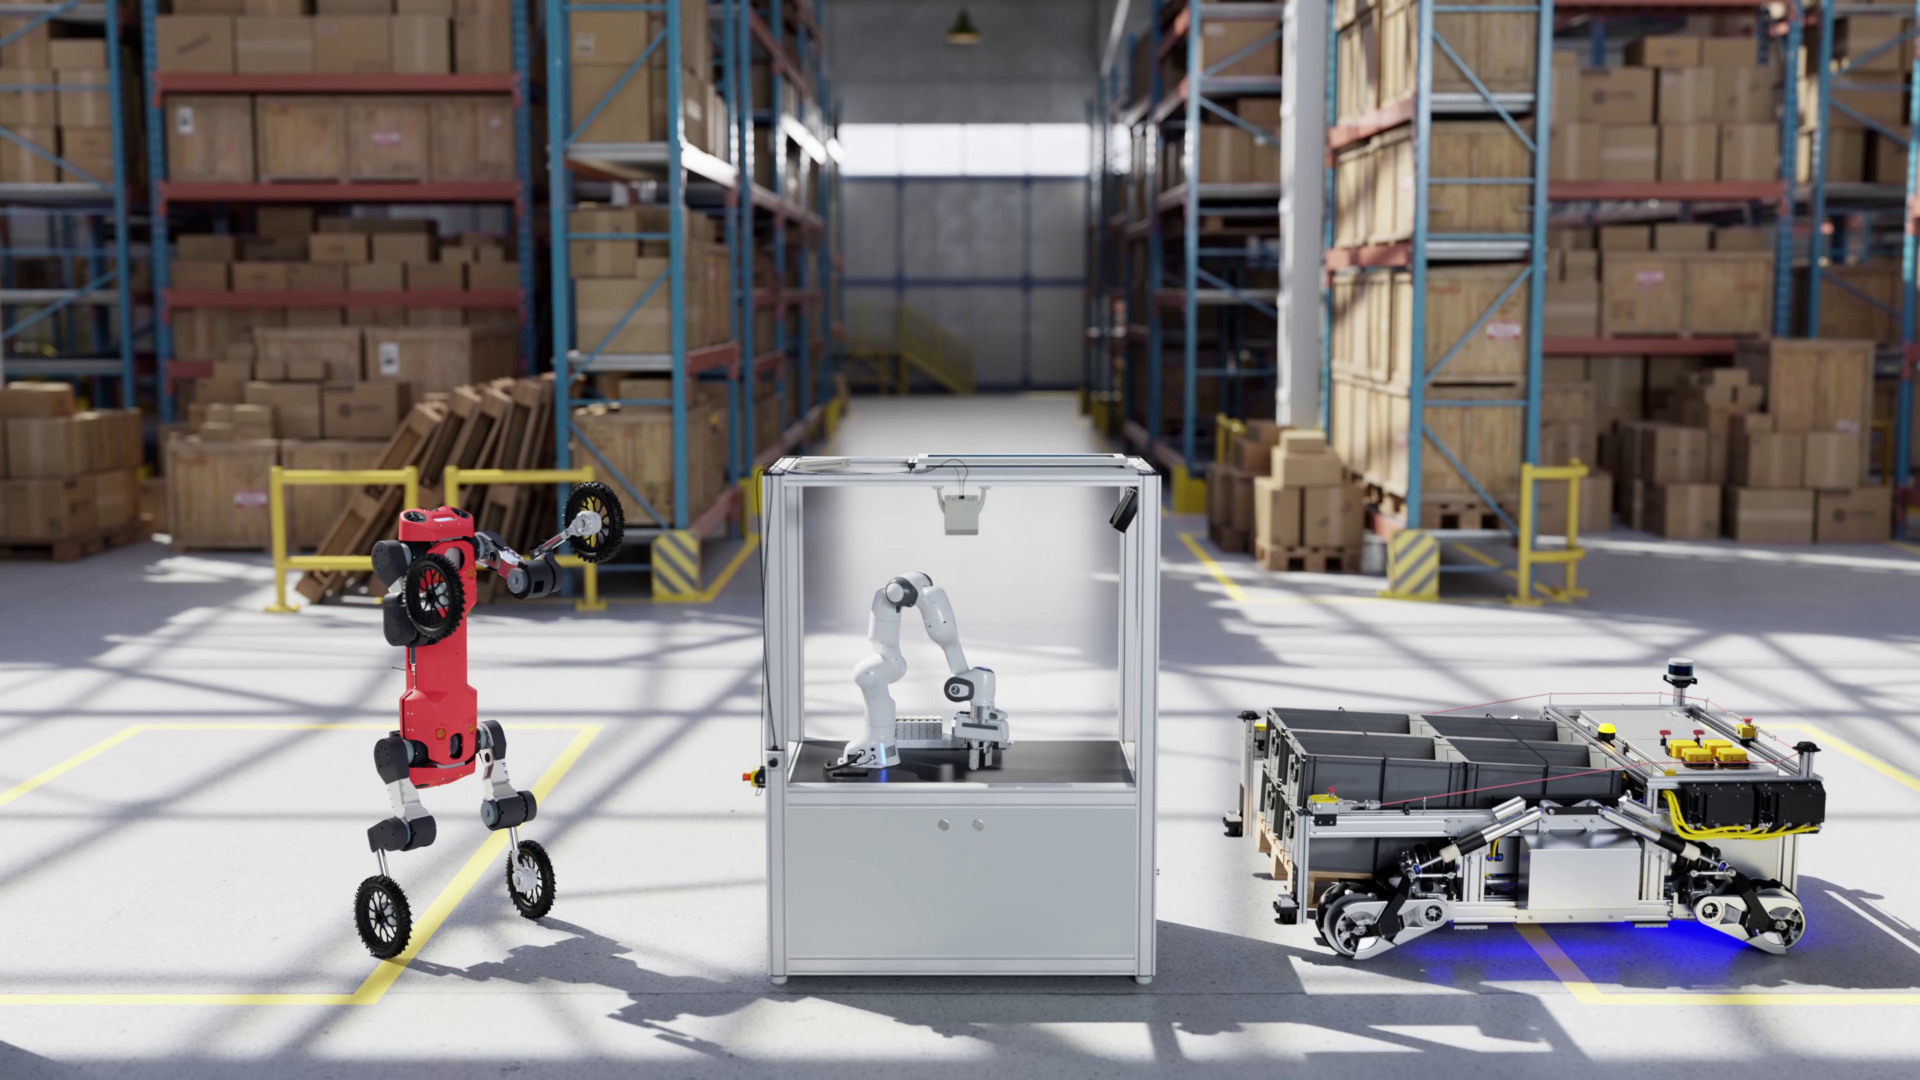
As robots take on increasingly dynamic mobility tasks, developers need physics-accurate simulations that translate across environments and workloads. Training robot policies and models to do these tasks requires a large amount of diverse, high-quality data, which is often expensive and time-consuming to collect in the physical world. Therefore, generating synthetic data at scale using cloud technology is essential to accelerate physical AI.
Synthetic data generated in physics-accurate simulated environments with open source robotics simulation frameworks such as NVIDIA Isaac Sim and augmented with open world foundation models such as NVIDIA Cosmos Transfer which helps close the real-world data gap.
To run these workloads at scale, developers can use NVIDIA OSMO, an open source cloud-native orchestrator for physical AI workflows. OSMO provides a single command center to define, run, and monitor any multistage physical AI pipeline across diverse compute environments.

This post explores:
- Creating a simulated environment
- Generating synthetic data with MobilityGen on OSMO
- Scaling data augmentation using NVIDIA Cosmos world foundation models (WFMs) on OSMO
- Deploying data generation pipelines at cloud scale using NVIDIA OSMO on Microsoft Azure

Build a simulated environment locally or in the cloud
You can build simulated environments in Isaac Sim on a local NVIDIA RTX workstation or with cloud VDIs, such as the Azure Isaac Sim Development Workstation. With NVIDIA OSMO, there’s now an additional option: run Isaac Sim remotely as an interactive session, and connect from the Isaac Sim livestream client on your local machine.
Once you have Isaac Sim running, the next step is to build out the world your robot will operate in. You can start by bringing in real-world environment assets using NVIDIA Omniverse NuRec, and then populate the scene with simulation-ready (SimReady) assets to add physically accurate objects and semantics for data generation and training.
Reconstruct 3D digital twins using Omniverse NuRec
Omniverse NuRec is a set of technologies for reconstructing and rendering 3D interactive simulations from real-world sensor data. The reconstructed environments are used across domains like robotics, AV, and industrial/geospatial for generating synthetic data, training AI models, and testing model behavior.
Isaac Sim supports NuRec Gaussian-based rendering as neural radiance fields (NeRFs), 3D Gaussian Splats (3DGS), and 3D Gaussian Unscented Transforms (3DGUT). Data is rendered in OpenUSD for simulation. You can load compatible assets and scenes in Isaac Sim and control rendering through the OmniNuRecVolumeAPI properties. Learn more about NuRec for robotics use cases in the documentation.
Add SimReady assets to a simulated scene
SimReady assets are OpenUSD-based accurate 3D models with built-in semantic labeling, dense captions, and physics properties based on USDPhysics that streamline robot simulation setup.
The SimReady Warehouse 01 Assets Pack includes a large collection of USD models of objects like pallets, storage racks, and ramps. You can simply drag and drop these into your scene. For robotics and related use cases, explore the Physical AI dataset.
Video 1 shows how to add SimReady assets to a scene in Isaac Sim.
In this way, you can easily create scenes with multiple objects in simulation. A major use of these simulated environments is to collect synthetic data for training robot policies, which we will learn about in the next section.
Try the SimReady Standardization workflow to design, validate, and implement standardized 3D asset specifications in OpenUSD.
Generate synthetic data using MobilityGen on OSMO
MobilityGen is a workflow for generating data for mobile robots built on Isaac Sim. It supports data collection through manual methods like keyboard and gamepad teleoperation, and through automated methods like random accelerations and random path following.
In the following example, you’ll learn how MobilityGen is used to generate data for an H1 humanoid robot in Isaac Sim using OSMO. You can find the OSMO Workflow example in the NVIDIA/OSMO GitHub repo.
This workflow can be used for other robot embodiments, like quadrupeds and autonomous mobile robots (AMRs), and has been tested on the Spot and Carter robots.
While data from MobilityGen can train mobility policies for robots, performance improves when the data includes visual diversity. We’ll learn about augmenting data with visual diversity using NVIDIA Cosmos in the next section.
The following outlines the steps involved in generating data using MobilityGen.
- Build an occupancy map: This is a grid-based representation of the robot’s environment where each cell represents the probability of being occupied by an obstacle.
- Record a trajectory: A trajectory of a mobile robot specifies position, velocity, and orientation at every instant as it moves through its environment.
- Replay and render: You can replay the generated trajectories to evaluate and visualize data.
Videos 2 and 3 show how to generate synthetic data in Isaac Sim using MobilityGen.
The following example uses a warehouse environment available in Isaac Sim to run MobilityGen. You can create your own environment using SimReady assets covered in the previous section.
This step leverages an interactive OSMO workflow to generate occupancy maps and record trajectory data within Isaac Sim.
Submit and connect
Submit the workflow and enter the container’s interactive shell to perform manual recording:
# Submit the YAML definition
osmo workflow submit workflows/mobilitygen_replay.yaml --pool <pool-name>

# When the task logs this line:
# "Isaac Sim Full Streaming App is loaded."

# Run these commands in two separate terminals:
osmo workflow port-forward <workflow ID> isaac-lab --port 47995-48012,49000-49007,49100 --connect-timeout 300

osmo workflow port-forward <workflow ID> isaac-lab --port 47995-48012,49000-49007 --udp --
Complete the following steps:
- Follow the documentation for building an occupancy map
- Load the warehouse stage
- Create the occupancy map
- Save the map
- Verify that you now have a folder named ~/MobilityGenData/maps/warehouse_multiple_shelves/ with a file named map.yaml and map.png inside
- Follow the documentation for recording a trajectory
- Enable the MobilityGen UI extension
- Build the scenario
- Test drive the robot
- Start recording
- Verify that the data is now recorded to ~/MobilityGenData/recordings
- Follow the documentation for replay and render
- After recording a trajectory, which includes data like robot poses, you can now replay the scenario
- Use the replay_directory.py Python script that ships with Isaac Sim. To run the script, call the following from inside the Isaac Sim directory
- After the script finishes, verify that you have a folder ~/MobilityGenData/replays, which contains the rendered sensor data. You can open this folder to explore the data
- There are examples on how to load and work with the recorded data in the open source MobilityGen GitHub repo
- We recommend visualizing your recorded data by running the Gradio Visualization Script
- Find more information, such as adding a custom robot, in the tutorial on Data Generation with MobilityGen
To scale these steps, you can leverage custom scripts that run headless as OSMO workflows.
Augment generated training data using Cosmos on OSMO
After generating data using MobilityGen, use Cosmos Transfer to generate photorealistic videos from synthetic robot data. This adds visual variation to reduce the sim-to-real gap and improves policy performance after deployment.

Cosmos Transfer is a WFM that generates photorealistic videos from inputs of multiple video modalities like RGB, depth, and segmentation. Along with the input video, you can give a text prompt with details guiding how you want the generated video to look like. The following is an example prompt:
A realistic warehouse environment with consistent lighting, perspective, and camera motion. Preserve the original structure, object positions, and layout from the input video. Ensure the output exactly matches the segmentation video frame-by-frame in timing and content. Camera movement must follow the original path precisely.
Videos 4 and 5 show how to run Cosmos Transfer on MobilityGen data to add visual variation.
Once raw trajectories are recorded, use Cosmos Transfer to apply diffusion-based photorealistic augmentation for enhanced sim-to-real performance. Submit the OSMO augmentation workflow.
osmo workflow submit workflows/cosmos_augmentation.yaml \
    --pool <pool-name>
This workflow can be scaled to thousands of generations by customizing the workflows and Python scripts to leverage LLM pregenerated prompt variations.
To troubleshoot typical OSMO issues, follow the official documentation.
During closed-loop evaluation in the lab, a policy trained on synthetic and Cosmos-augmented data consistently outperformed a policy trained on synthetic data alone. The following scenarios are handled well by the policy:
- Navigating around transparent obstacles
- Avoiding obstacles that blend into the background, like a gray pole on a gray floor
- Going closer to obstacles, and reducing the overall distance traveled to get to a goal position
- Navigating in dimly lit environments
- Navigating narrow passages
You can run Cosmos Transfer on both real-world and synthetic video data. For example, the Cosmos for Synthetic Dataset Augmentation tutorial shows how to generate synthetic data using Replicator in Isaac Sim and then augment it with Cosmos. The NVIDIA OSMO Cosmos Transfer workflow example shows how to operationalize Cosmos Transfer as a scalable, repeatable workflow.
Scale your data generation pipeline in the cloud
Once you’ve generated a simulated environment, you need a repeatable way to fan out thousands of simulation and post-processing runs, track exactly how each dataset shard was produced, recover gracefully from transient failures, and continuously iterate on scenario coverage as your navigation stack evolves.
This is addressed by using OSMO. The following steps show how to do so using the Azure sample, which provides a production-oriented baseline for running OSMO on Azure and wiring it into the services you need for SDG and training at scale.
However, OSMO is deployable on all leading cloud service providers (CSPs) and NVIDIA Cloud Partners (NCPs).
For details on OSMO concepts and workflow structure, see the NVIDIA OSMO user guide.
Follow the Azure sample instructions to deploy OSMO. Before submitting jobs, ensure the OSMO CLI is configured and authenticated against your designated cluster.
Install the CLI:
pip install osmo-cli
Authenticate through the browser and verify your resource access:
# Authenticate with the regional endpoint
osmo login <https://<YOUR_OSMO_URL>>

# List and set your compute pool
osmo profile list
osmo pool list
osmo profile set pool <pool-name>
Scaling Azure Kubernetes for SDG
SDG workloads are bursty, heterogeneous, and extremely artifact-heavy; if you only scale compute, you’ll quickly run into bottlenecks. The most reliable approach is to scale with clear workload boundaries, predictable resource requests, and production-grade platform services.
It is best to involve your IT and DevOps teams to capacity plan. Consider the following list of aspects when scaling SDG workloads on Kubernetes:
- Isolate workload classes with node pools: Separate GPU pools for OSMO versus AzureML, and (when needed) separate pools for simulation-heavy SDG runs versus training runs; enforce placement with node selectors, taints, and tolerations.
- Use elastic GPU capacity intentionally: Keep a right-sized baseline for steady-state services, then scale out GPU pools for large SDG campaigns; use Spot pools where appropriate to improve cost-efficiency.
- Plan for artifact throughput: SDG produces large sensor streams and intermediate outputs; treat storage throughput, dataset partitioning, and lifecycle/retention policies as core scaling design, not afterthoughts.
- Operationalize observability: Monitor both infrastructure (GPU utilization, pending pods, node saturation) and pipeline health (scenarios/hour, failure rate, dataset size growth), and use consistent run IDs to preserve data lineage.
- Scale OSMO dependencies like production services: Size and operate PostgreSQL and Redis for your expected concurrency, with backups and capacity planning to avoid workflow control-plane bottlenecks.
Get started with end-to-end SDG workflows
NVIDIA provides a comprehensive collection of OpenUSD resources to accelerate your learning journey. Start with the self-paced Learn OpenUSD, Digital Twins, and Robotics training curricula that build the foundational skills covered in this guide.
For professionals ready to take the next steps in their robotics career, the OpenUSD Development certification offers a professional-level exam that validates your expertise in building, maintaining, and optimizing 3D content pipelines using OpenUSD.
Visit our Cosmos Cookbook for step-by-step workflows, technical recipes, and concrete examples for building, adapting, and deploying Cosmos WFMs, or join our community to learn with peers.
Tune in to upcoming OpenUSD Insiders livestreams and connect with the NVIDIA Developer Community. Stay up to date by following NVIDIA Omniverse on Instagram, LinkedIn, X, Threads, and YouTube.
Get started with NVIDIA Isaac libraries and AI models for developing physical AI systems.
Watch NVIDIA Live at CES to learn more.
This post was originally published in October 2025.