Coffee Break: NVIDIA Ansel
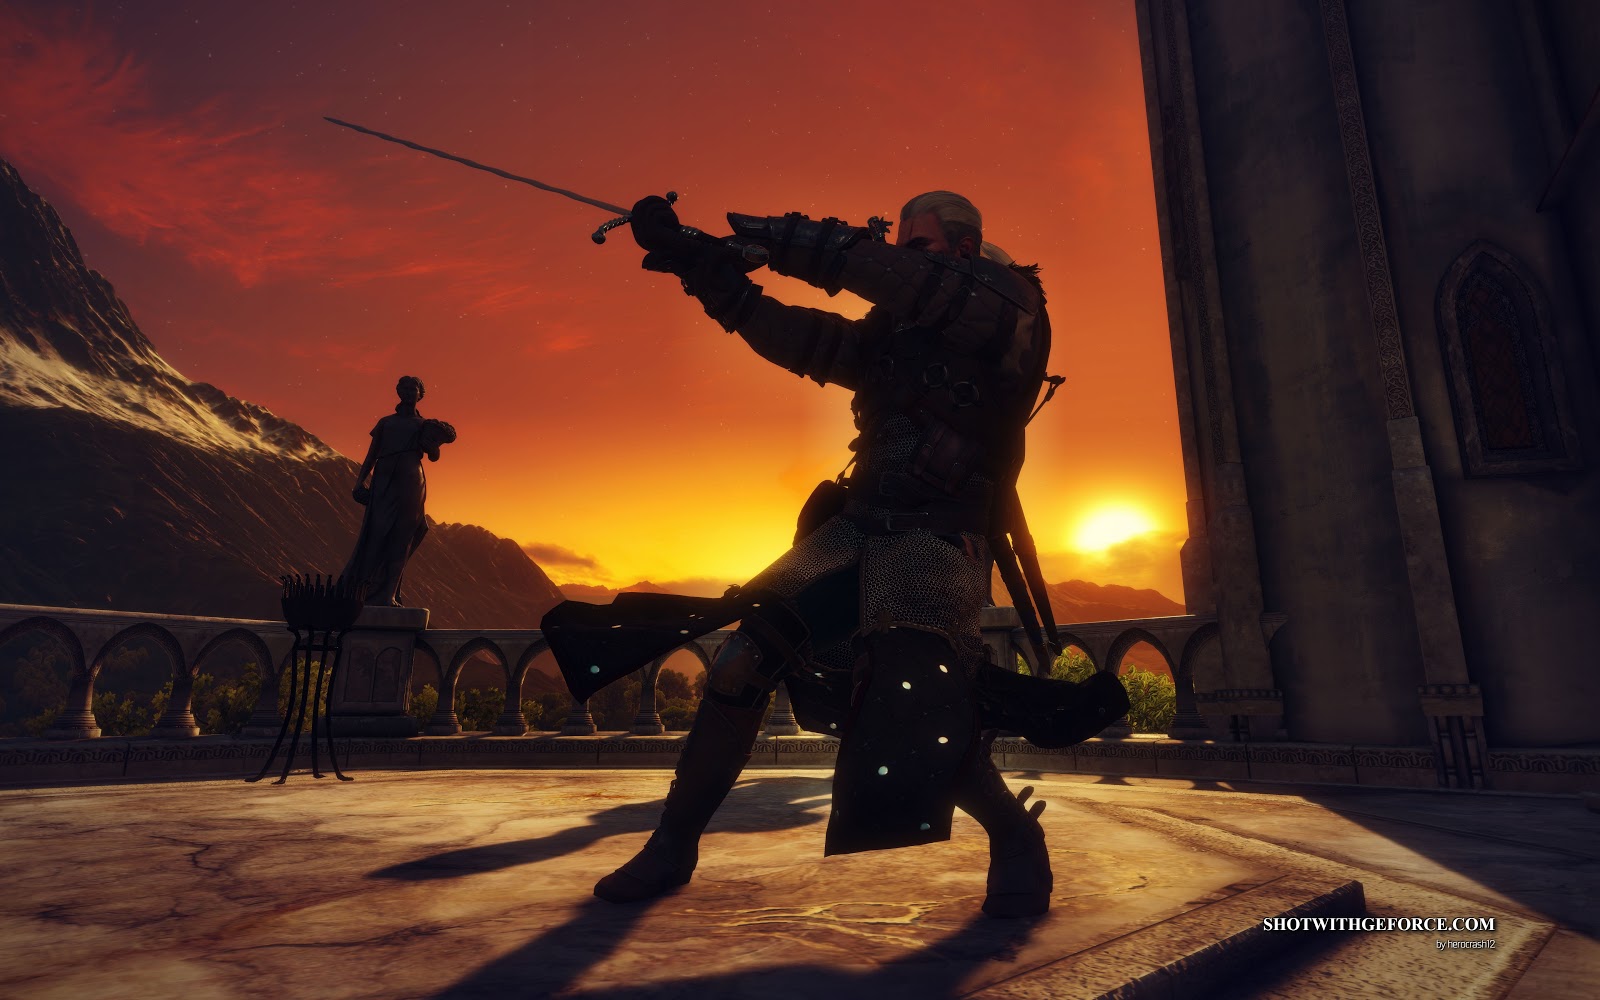
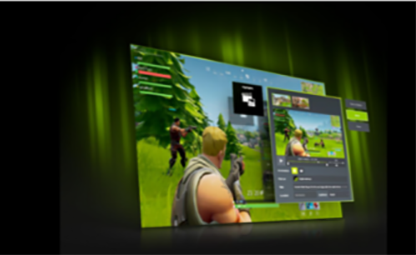
NVIDIA Ansel is a powerful in-game camera that lets players take professional-grade photographs in their games. Screenshot art has allowed players to tap into their artistic side; Ansel gives them virtual photographic tools to make capturing scenes easier than ever.
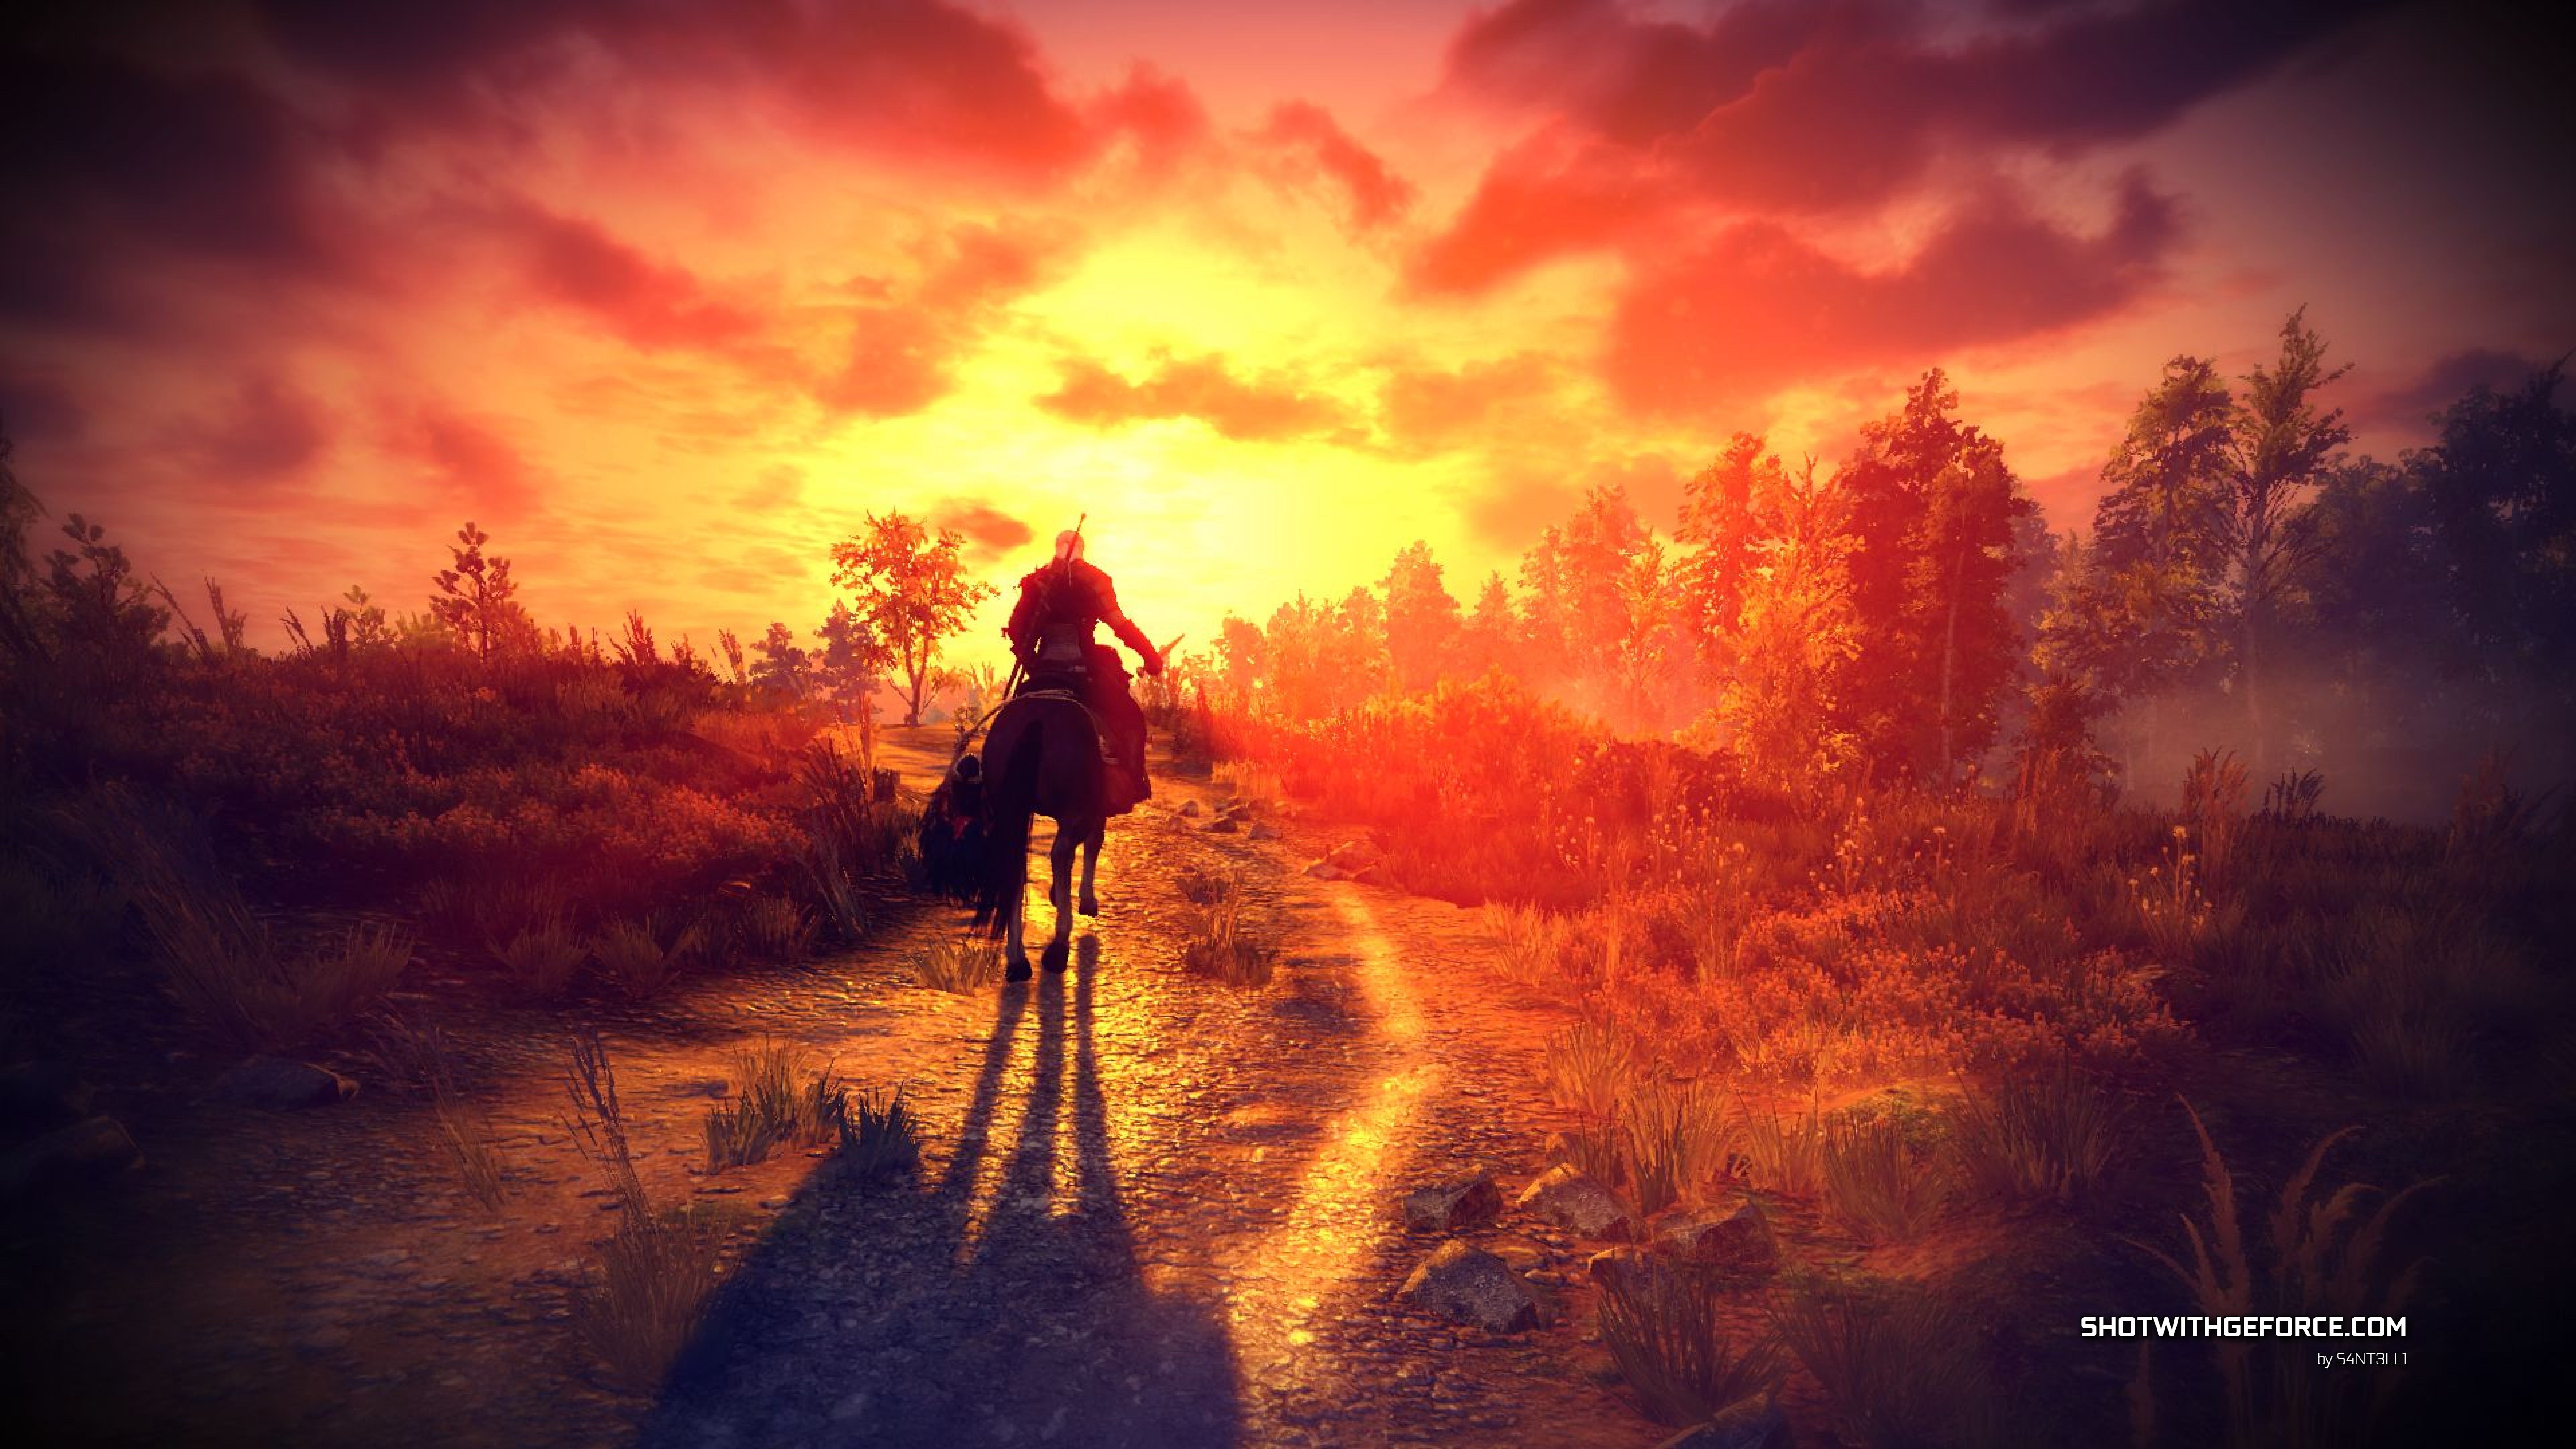
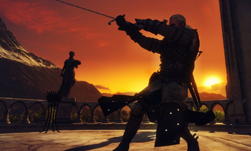
Many of the biggest games in the world – The Witcher III: Wild Hunt, Final Fantasy XV, Star Wars™ Battlefront II™, and more – have integrated NVIDIA’s Ansel. Why? Because these tools make the user experience richer, for both those creating digital art, and those simply enjoying the end results via social media (or galleries like shotwithgeforce.com).
Another big perk to integration: When players start taking their own stills from a game and sharing them on social media, the user acquisition benefits will be substantial – and free.
In this new coffee break series, Bryan Dudash – Senior Manager, Developer Technology – will show you how easy it is to add this awesome feature into your games. And in the interest of keeping your exploration of Ansel manageable, we’ve made sure you can take in every session in ten minutes or less.
Part 1: What is NVIDIA Ansel? (5:20 min)
Find out how CD Projekt Red integrated 150 lines of code, and wound up with more than 2 million Ansel photos of The Witcher III: Wild Hunt published! In this video, Bryan explains the value of Ansel, and describes the product’s benefits to players.
Five Key Things from Part 1:
- NVIDIA created Ansel as it became clear that the gaming community wanted to make art using video games as their source material.
- The free camera lets users pause, then move the camera to wherever they want, getting the optimal angle before taking a snapshot.
- There are a range of cool filters to use, from vignetting and contrast to brightness and depth of field.
- Super resolution lets players save a print-quality screenshot from the game. The result offers enough DPI to print on poster-sized paper and still look great.
- The images taken via 360 degree screenshot capture can be enjoyed in a VR head mounted display.
Part 2: Ansel: Configuration and Session Setup (8:20 min)
NVIDIA has made it safe and easy to configure Ansel with your game. Bryan guides you through the process. He also give some pointers on what to think about when defining the parameters of a player session with Ansel.
Five Key Things From Part 2:
- There is no fail condition here. NVIDIA Ansel will not break your game. The APIs will not cause you to crash. Adding the feature poses no risk to your product.
- We interface Ansel to your game, not the other way around. This makes it easy to use. You just tell us how your data format and presentation. Ansel will massage itself to you. You do that by providing your camera basis vectors. You provide the units that make sense in your game world.
- How do multi-part shots – super resolution or 360 view – work? We take a whole bunch of different screen shots from different camera angles and then we composite them together.
- If the second rendering is dependant on the first rendering — for example temporal anti-aliasing (TAA), you’re going to get artifacts, because the image blending means it hasn’t settled. So for rendering styles that need some time, you need to use capture settle latency. This allows images to render for 15-20 frames, and you get a steady state so that the rendering looks correct for the different pieces of the shot.
- During the player session, Ansel needs to pause the rendering and animation times, the simulation time… basically everything. Ansel also needs to disable the UI. When Ansel runs – especially in a multi-part shot scenario – you don’t want every panel to have UI on it!
Part 3: Ansel Camera Setup (5:17 min)
Bryan explains why you should support offset projection, makes clear how multi-part shots are composited, and provides tips on how to keep the camera where’s it’s allowed to be in the scene.
Five Key Things from Part 3:
- You must consider where the camera can roam, and block it from going where it shouldn’t ( inside a character, passing through a wall that might spoil an in-game surprise, etc). You do this by updating the game camera structure.
- You should support offset projection and FOV, as with the code snippet below. Note: your matrix spaces may be different and the snippet is just an example.
void updateProjectionMatrix()
   {
   // Before Ansel SDK integration:

      g_Projection = XMMatrixPerspectiveFovLH(g_Fov, g_FrameWidth / FLOAT(g_FrameHeight), 0.01f, 100.0f);

   // Ansel SDK integration requires projection offsetting for super resolution captures:

      g_Projection.r[2].m128_f32[0] = -g_ProjectionOffsetX;
      g_Projection.r[2].m128_f32[1] = -g_ProjectionOffsetY;

   }
- This will allow you to support multi-part shots. Projection offset X and Y is required for multi-part shots, which includes super resolution and 360-degree capture. You should disable vignetting – and other non-uniform frame effects – for multi-part capture. Temporal effects like motion blur and LOD fading should also be disabled.
- Most games require only minor modifications to support Ansel – multiplayer games with no replay functionality can be a challenge though.
We hope you’ve gotten value from this installment in NVIDIA’s Coffee Break series!
If this intrigues you, you can find more information on Ansel here. You can also check the full GDC video if you want to view it in a single sitting.
