Jetson Orin Devices - User Guide
Monitor-Attached JetPack Installation Guide
Monitor-Attached Installation Guide
Overview
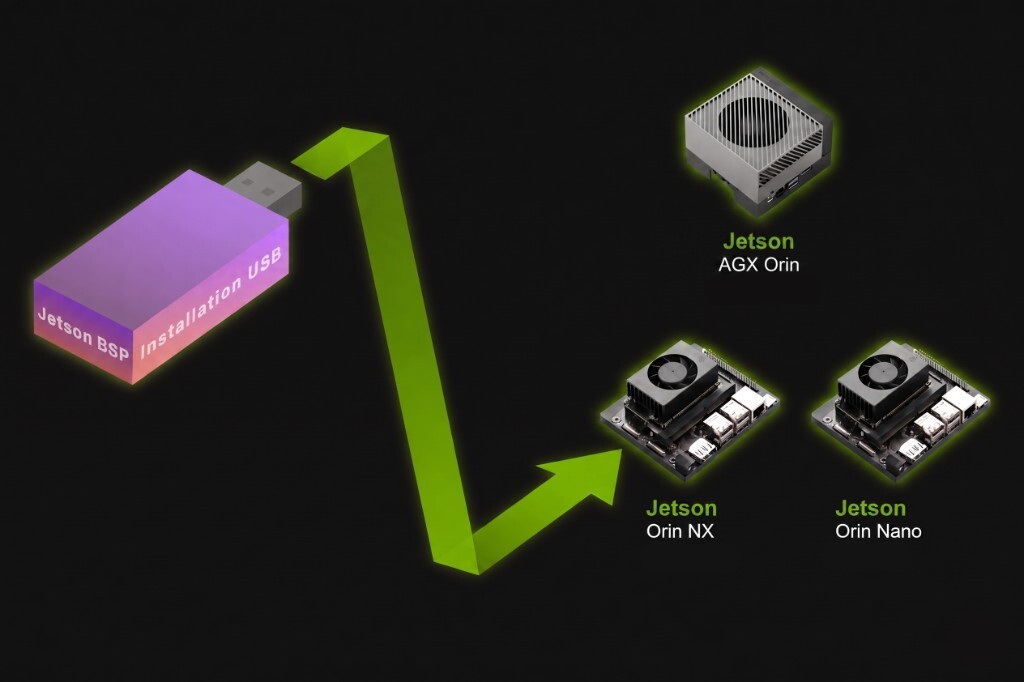
This guide covers the monitor-attached Jetson ISO flow for Jetson Orin devices. Connect a monitor, keyboard, and mouse directly to the Jetson device and use the on-screen UEFI and installer menus.
For Jetson Orin Nano device and Jetson Orin NX device, Jetson ISO installs Jetson Linux onto storage installed on the device. For Jetson AGX Orin device, the device can boot from its preflashed eMMC first, then Jetson ISO updates the BSP on eMMC or an installed NVMe SSD.
Prerequisites
Confirm firmware readiness before booting the JetPack installer. Older firmware can leave the board at a black screen or UEFI shell.
- Jetson Orin Nano device and Jetson Orin NX device: check the UEFI firmware version. Continue if it is
36.xor newer; use the JetPack 6.x Update Path first if it is older than36.0. - Jetson AGX Orin device: boot the currently installed system first when needed and run
cat /etc/nv_tegra_release. Continue with the Jetson ISO update path if the installed BSP isL4T r35.5or newer.
Before you begin, ensure the following:
- You have already created a bootable installation USB stick with the Jetson ISO image.
- You have a monitor with HDMI or DisplayPort.
- You have a USB keyboard and mouse.
Hardware Setup
Review Jetson Orin Nano / Jetson Orin NX Hardware Layout or Jetson AGX Orin Hardware Layout for connector details.
Caution: Use the power supply recommended for your Jetson Orin device for stable operation.
Storage target: Install the target storage before booting the ISO.
Note: Only Jetson Orin Nano supports SD card.
Use a microSD card or NVMe SSD as the Jetson Linux target storage where supported.
- Install the target storage on your Jetson Orin device before booting the ISO.
- Attach a DisplayPort monitor to the Jetson Orin device. If your monitor only has HDMI, use an active DisplayPort-to-HDMI adapter/cable where the board requires it.
- Connect a USB keyboard and mouse.
- Insert the bootable Jetson ISO USB flash drive into a USB port.
- Connect the recommended power supply. Jetson Orin Nano and Jetson Orin NX use the included 19 V supply; Jetson AGX Orin uses the included USB Type-C power supply.
- Power on the Jetson device. Some devices power on automatically when power is connected.
Installation Steps
Step 1️⃣: Boot Jetson ISO and Install BSP
UEFI Boot Order Check
Note:
The installer may boot automatically from USB, but NVIDIA recommends explicitly selecting the USB flash drive from UEFI Boot Manager so you know the correct installer is running.
To check or change the boot order:
- While on the NVIDIA logo screen or pre-boot options screen, press Esc repeatedly to enter the UEFI setup menu.
- You will see the UEFI setup top menu.
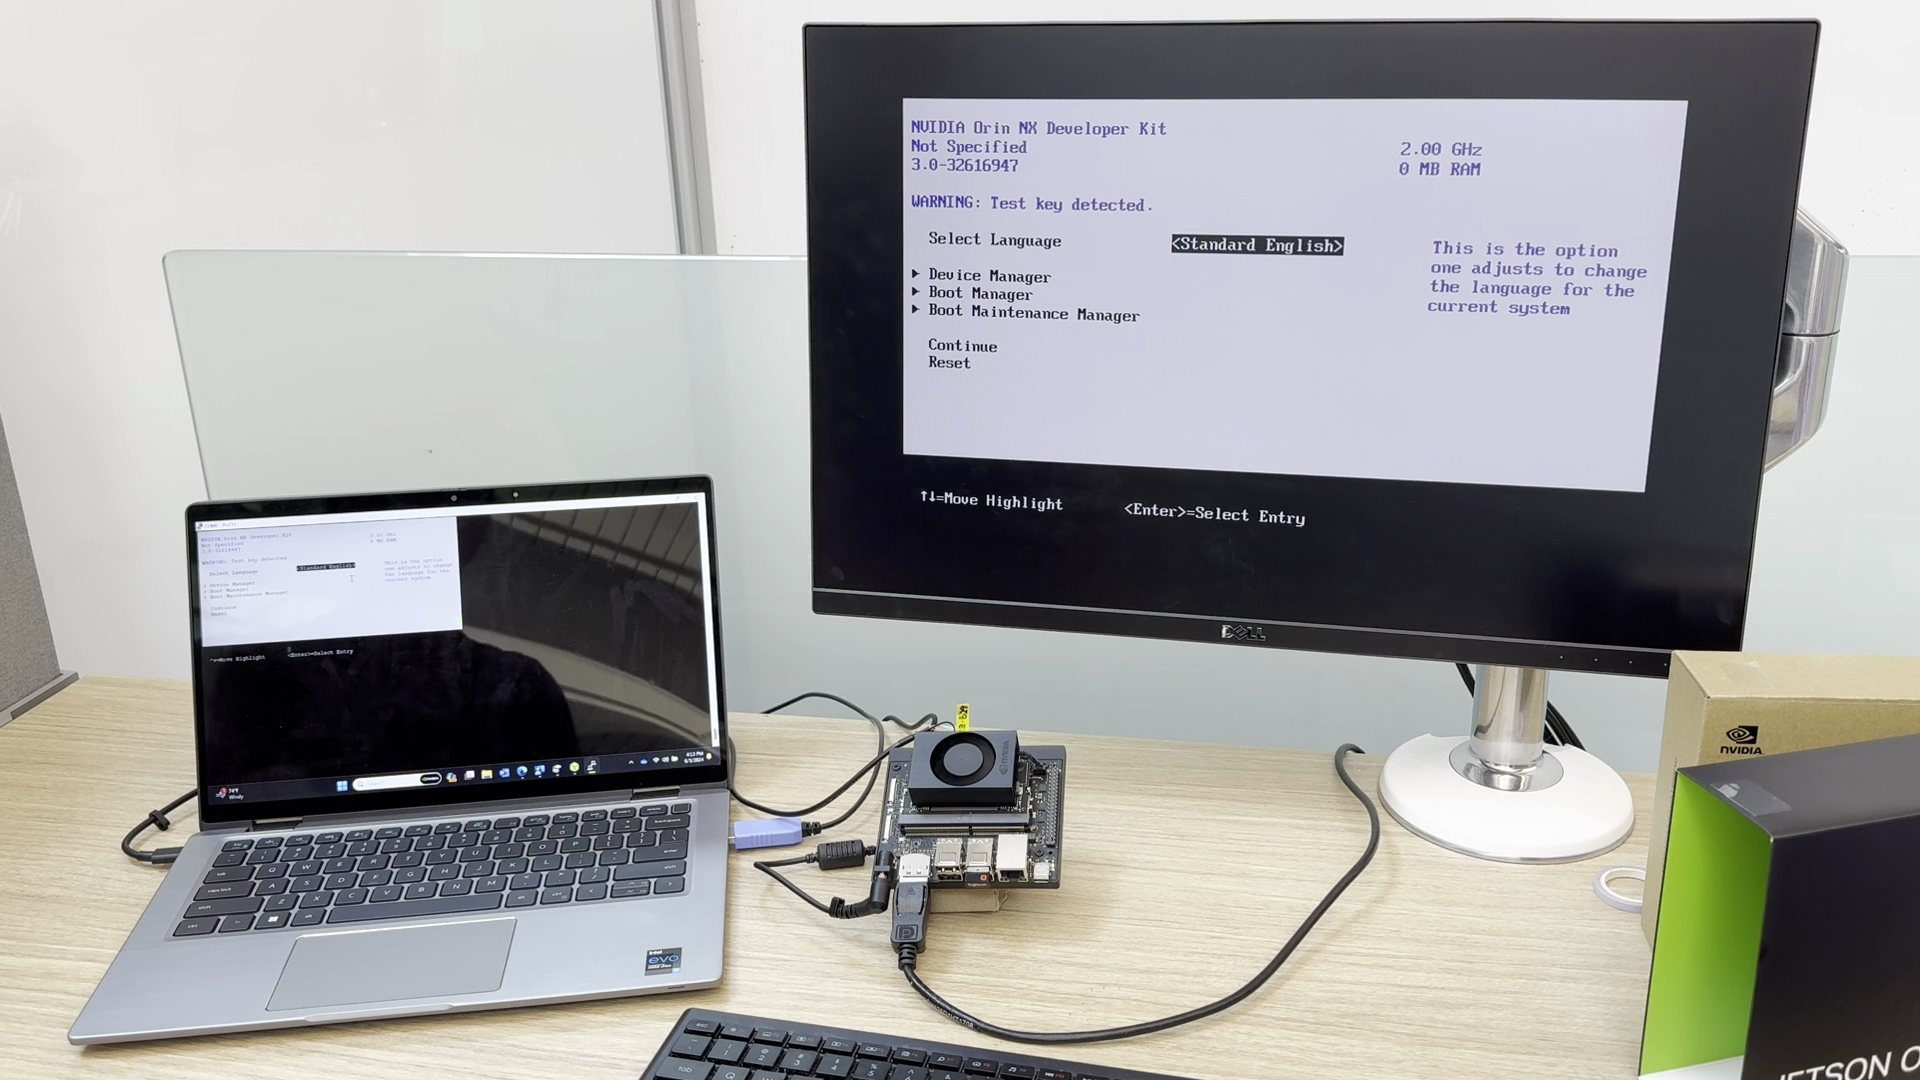
UEFI setup menu - Select
Boot Managerby hitting ↑ (up) and ↓ (down) keys, and press Enter key. - Choose the USB flash drive entry and press Enter.
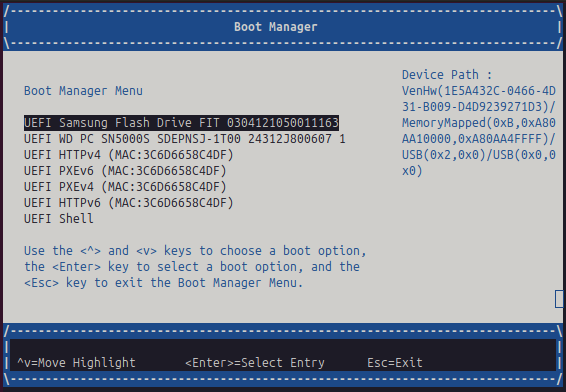
UEFI Boot Manager - select the Jetson ISO USB flash drive - The Jetson will boot from the USB stick.
Boot from the installation USB stick
- If the installer detects outdated QSPI firmware, it prompts for a capsule update before the BSP installation begins. Press Y within the 30-second countdown.
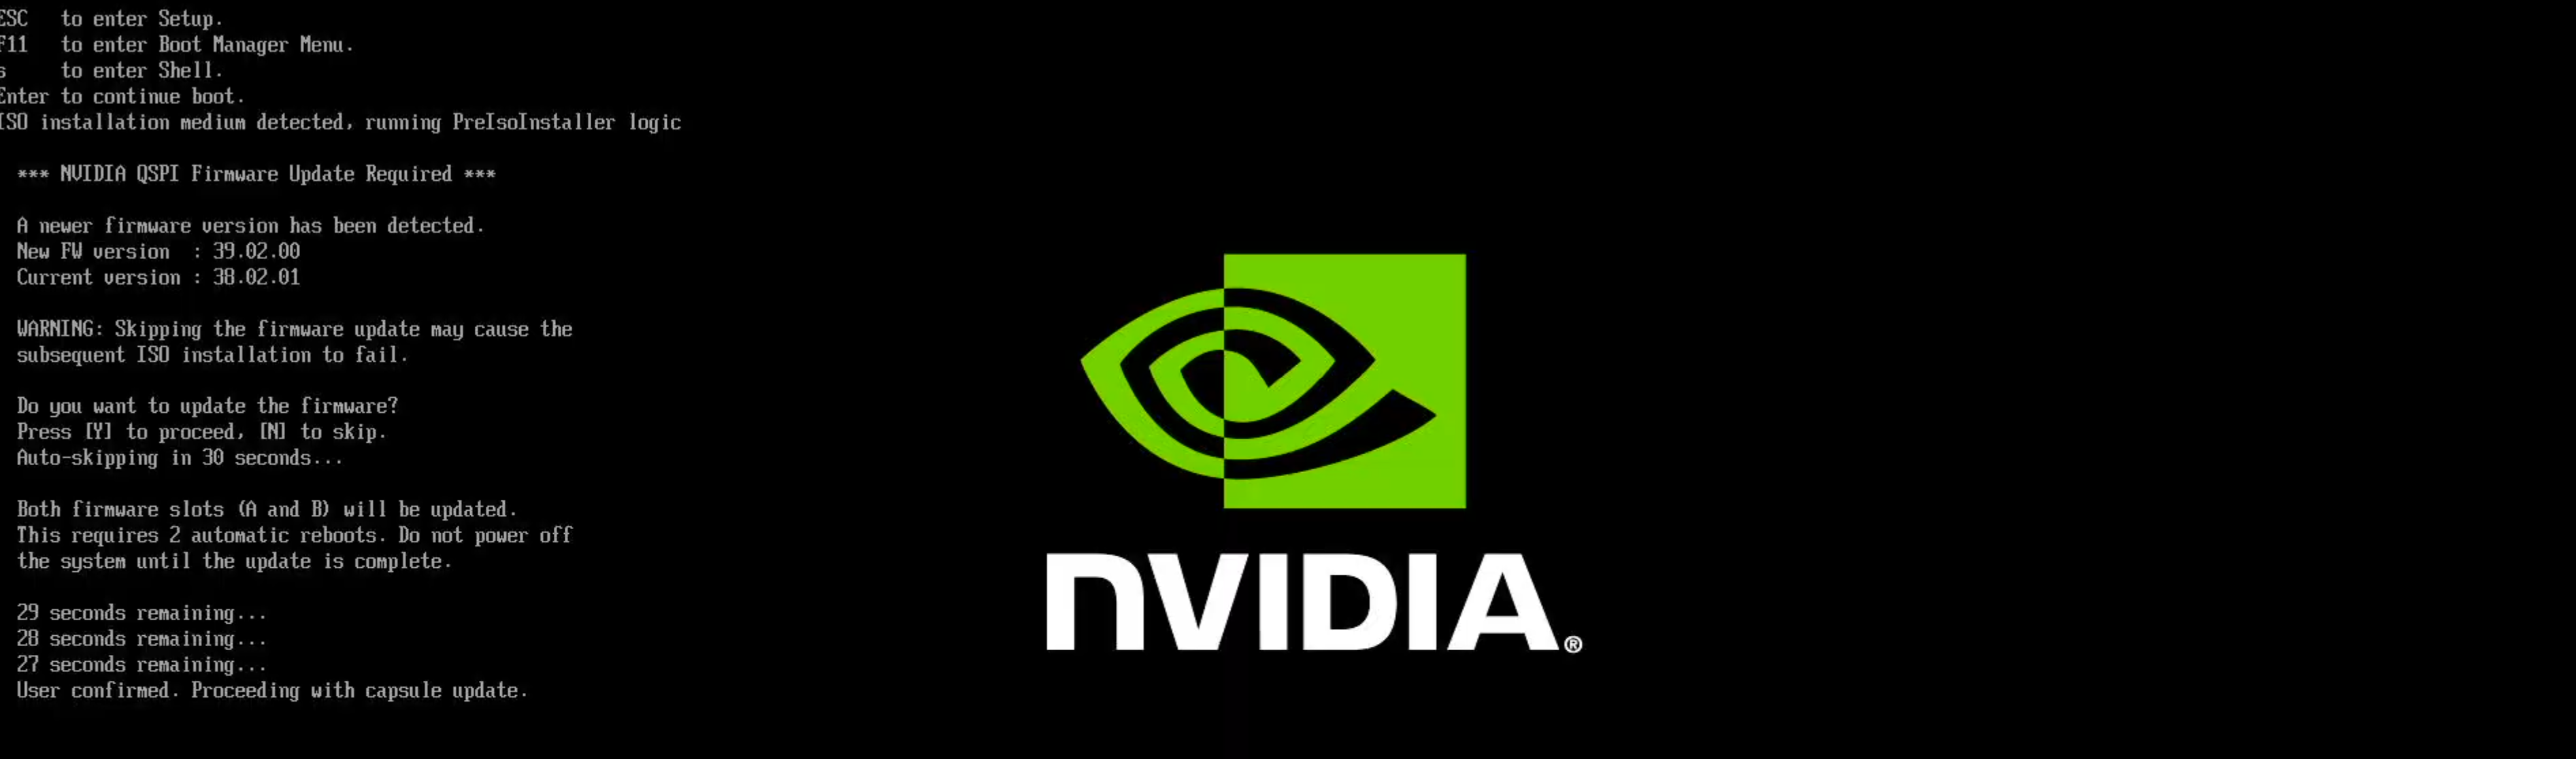
Press Y to confirm the QSPI capsule update if promptedCaution: This prompt can appear when the device firmware is older than the firmware required by the Jetson ISO. The capsule update is required for compatibility with the Jetson ISO release.
Do not skip this prompt. If you miss the prompt or are unsure whether the capsule update completed, restart the installation and confirm the capsule update when prompted.
- Wait while the capsule update runs. The update can run in two passes and the device may reboot between passes.
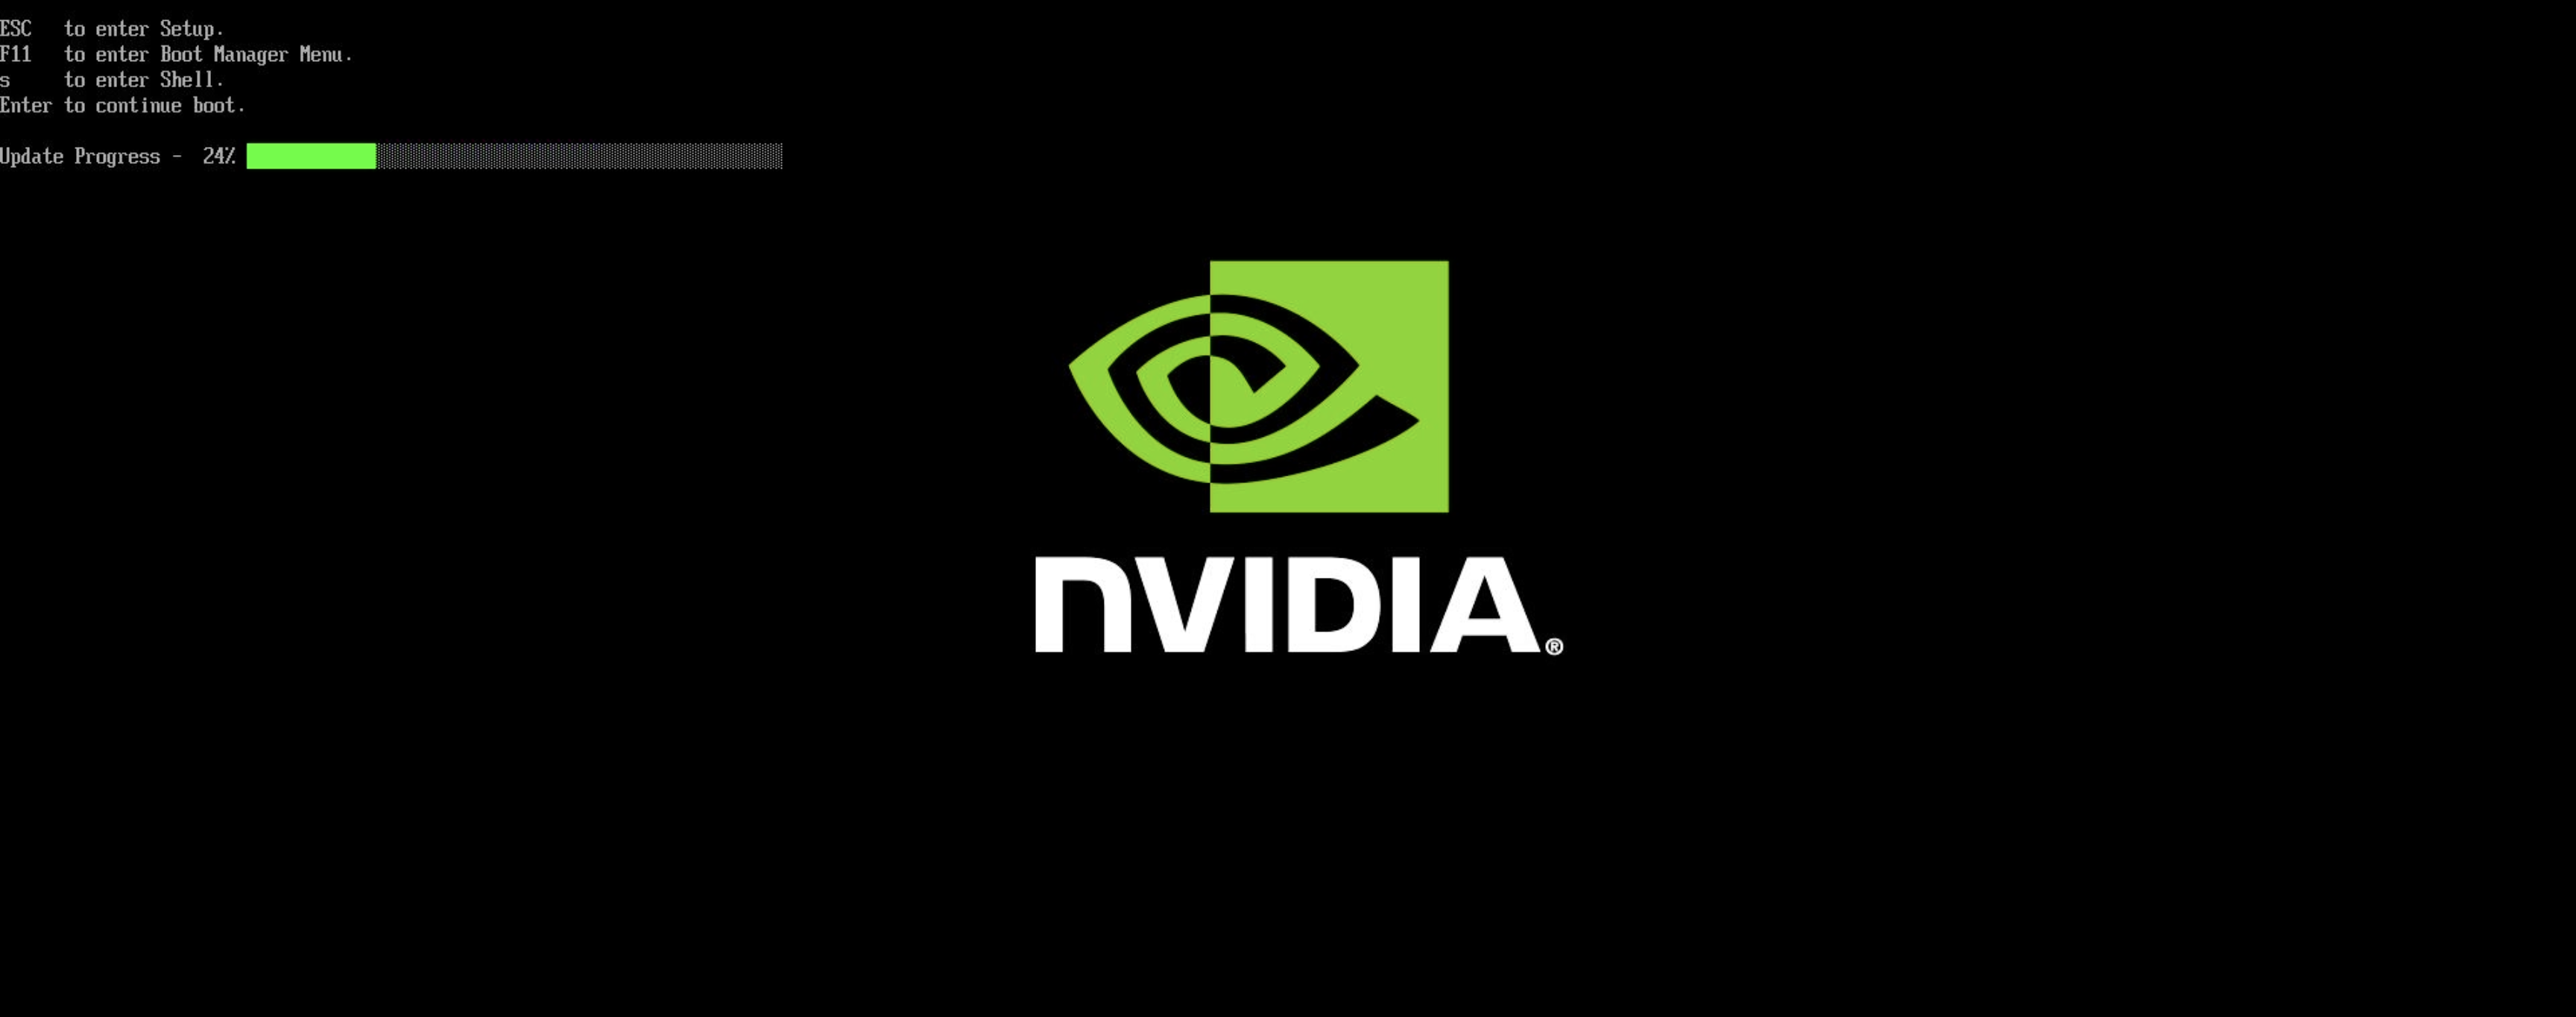
QSPI capsule update progress - When the Jetson BSP installation GRUB menu appears, select
Install Jetson ISO r39.2, then press Enter.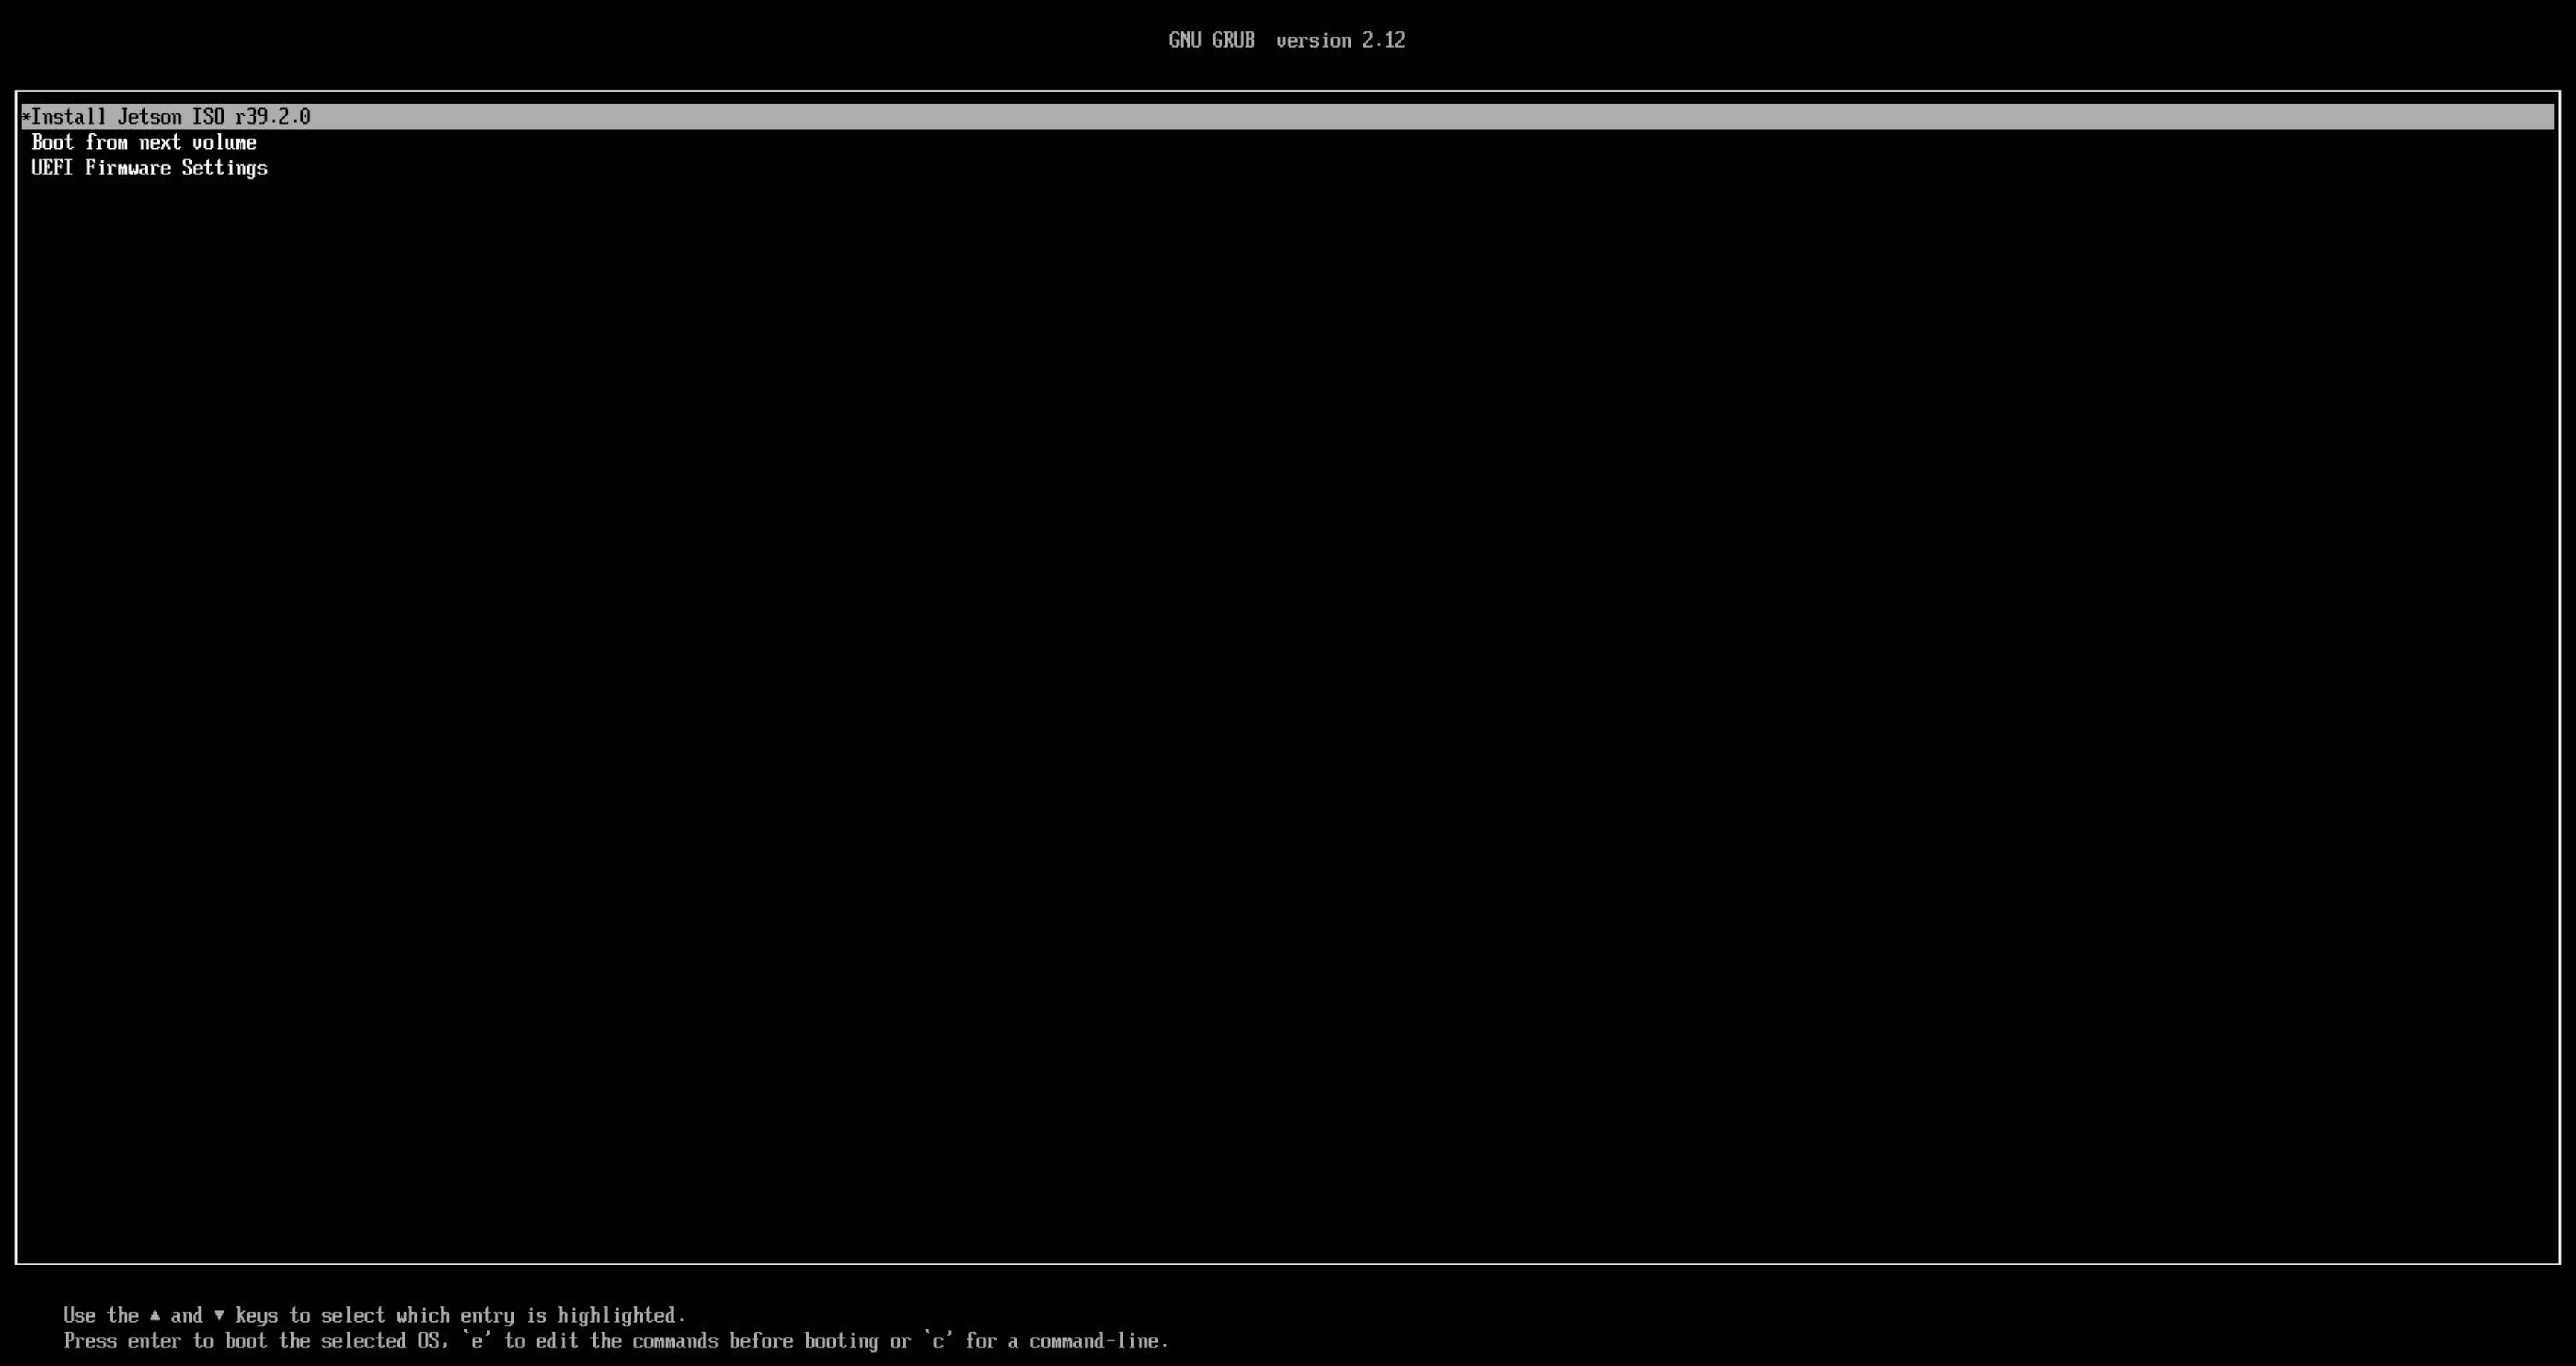
Jetson ISO r39.2 GRUB menu - Select the target storage, then confirm the install operation.
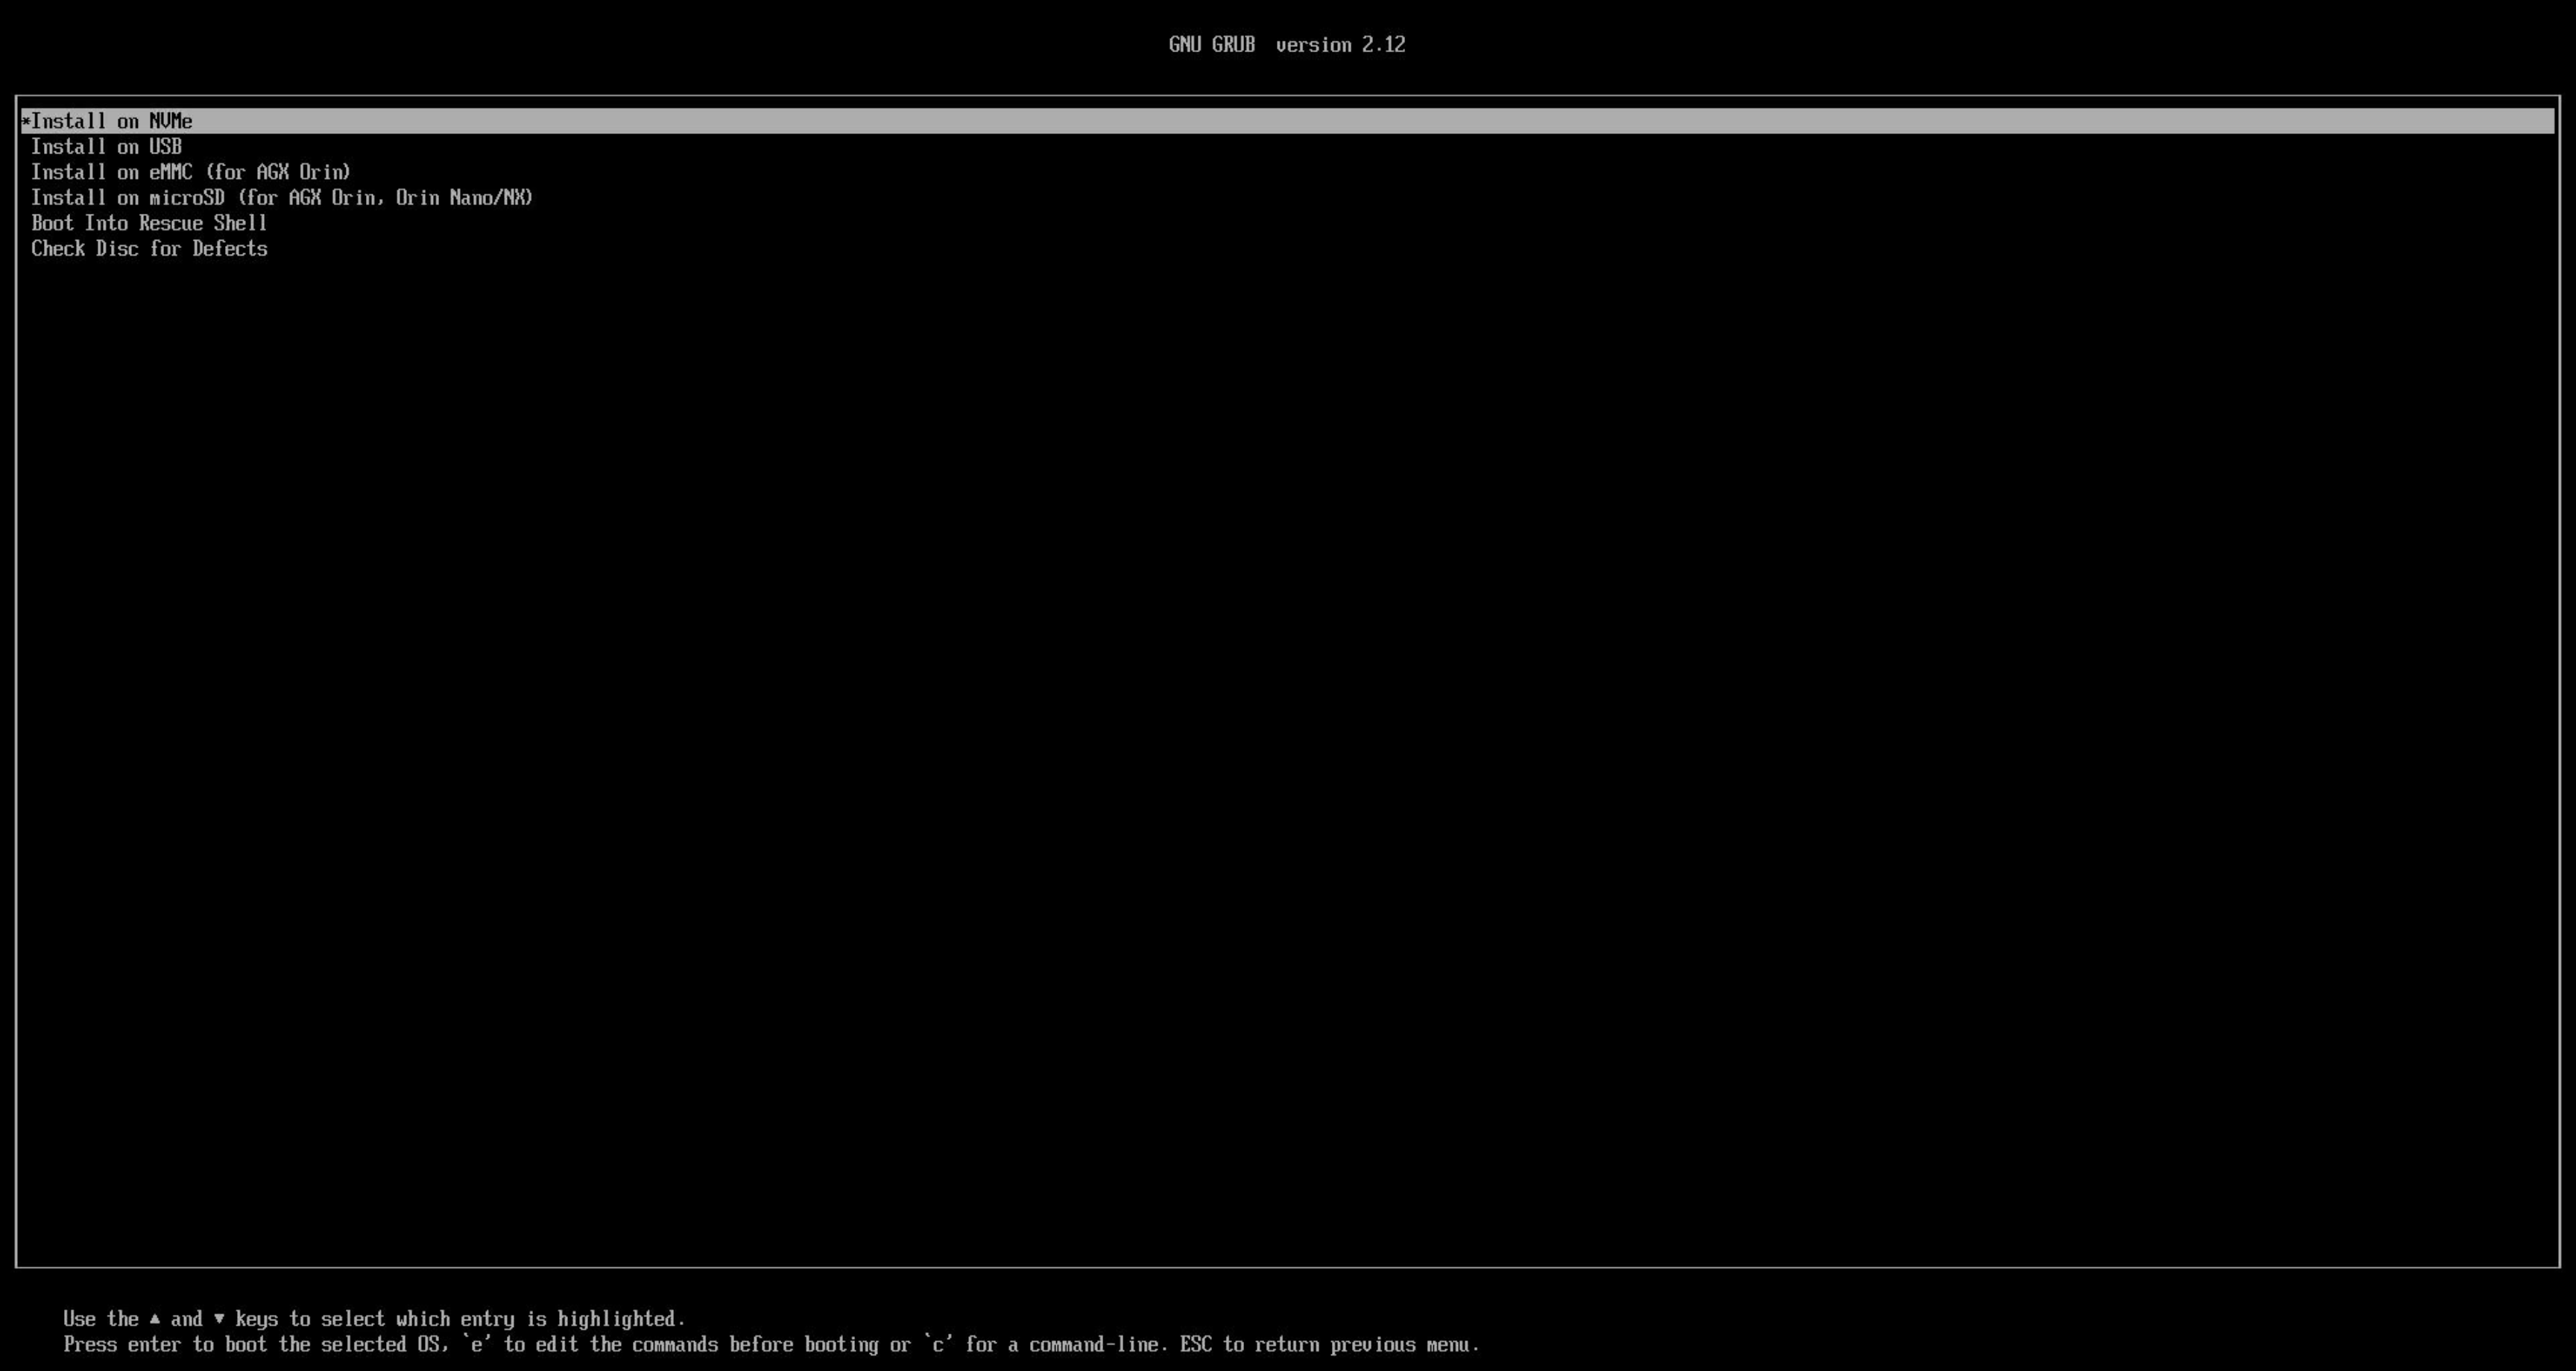
Jetson ISO storage target menu
Caution: The installation erases the selected storage. Confirm that the selected storage is the intended target before continuing.
Note: During installation, you may see white text scrolling on the screen for several minutes. Wait for the installer to complete and reboot when prompted.
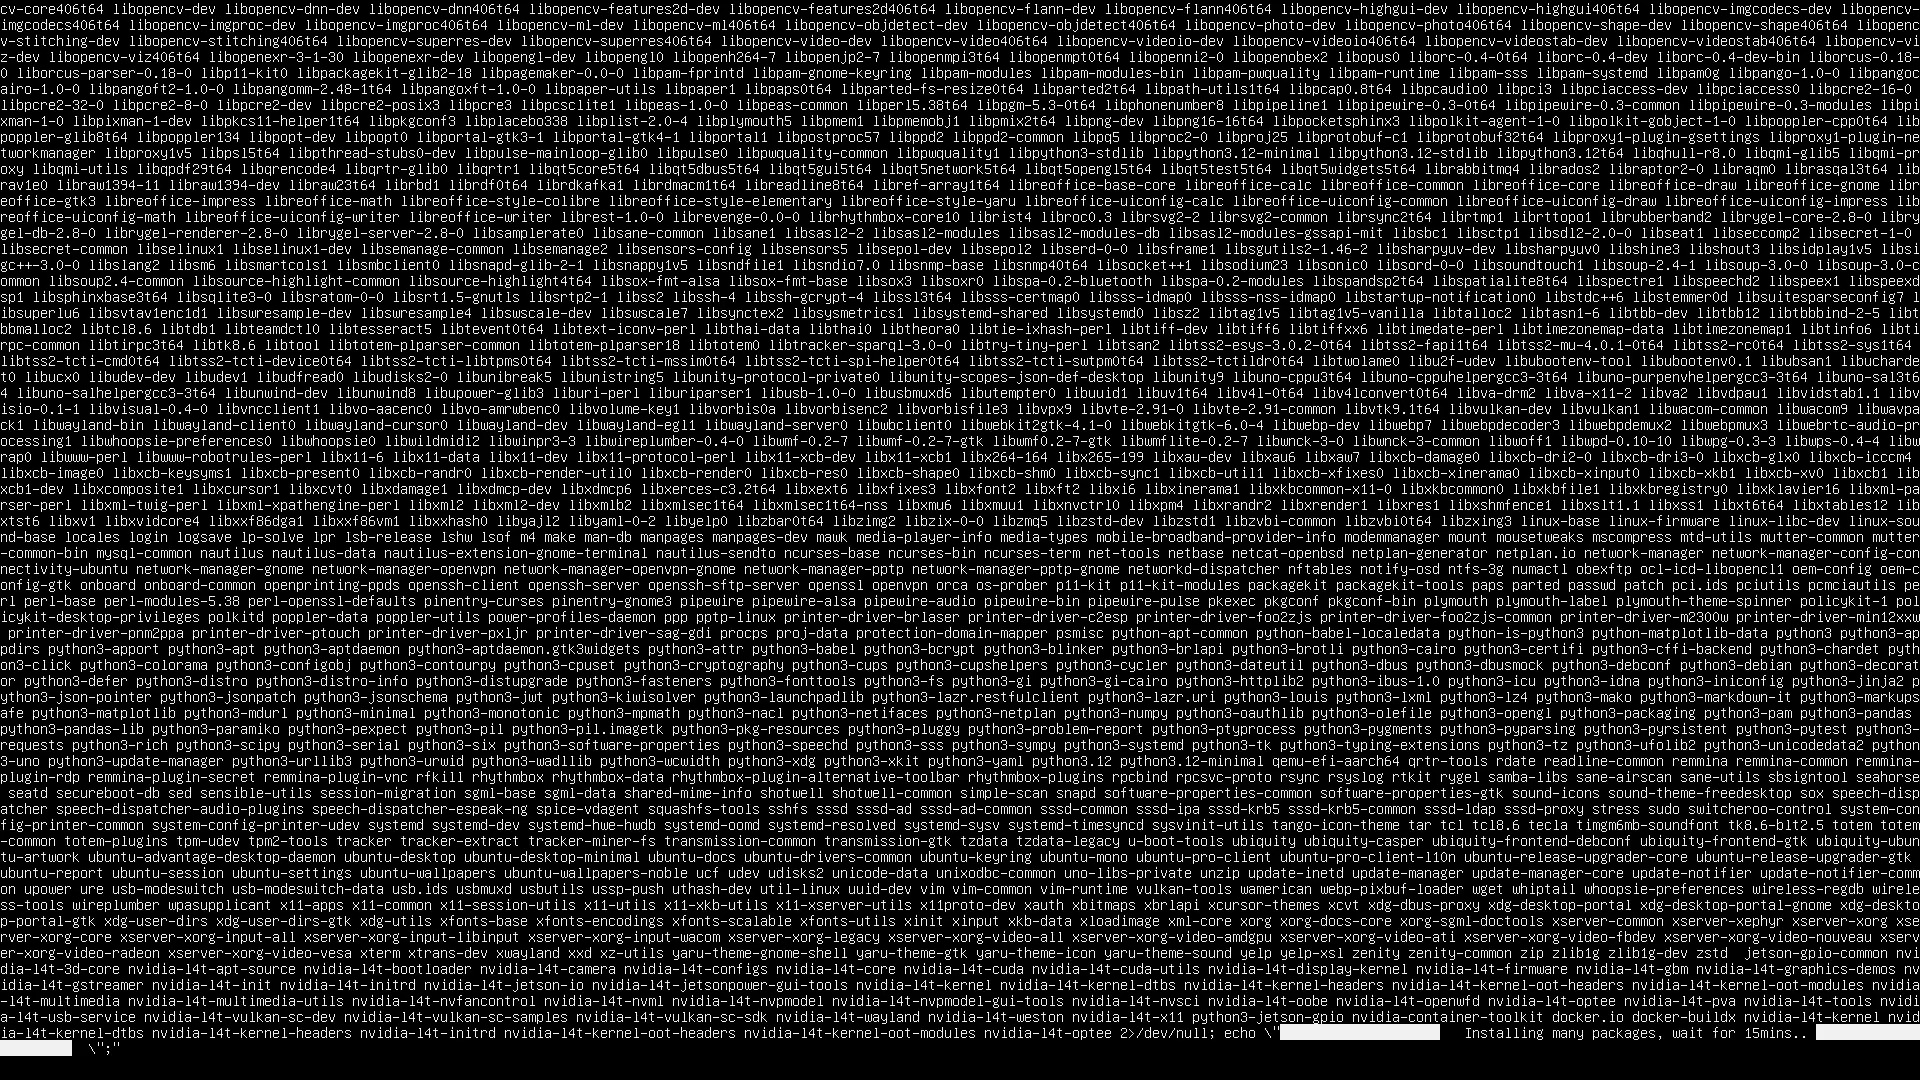
Installation in progress - please wait
After the installation finishes, the Jetson will reboot.
Step 2️⃣: Boot Jetson Linux from Target Storage
Remove the installation USB stick
Remove the bootable installation USB stick after installation, otherwise the Jetson may boot back into the installer instead of the updated BSP on the target storage.
Initial software setup (OEM Config)
After removing the USB stick, you can start the initial Ubuntu setup process (oem-config) to create the default user account and set up other things. Once done, you can start using Jetson with Jetson BSP fully set up.
- You will see the GUI oem-config screen on your attached monitor.
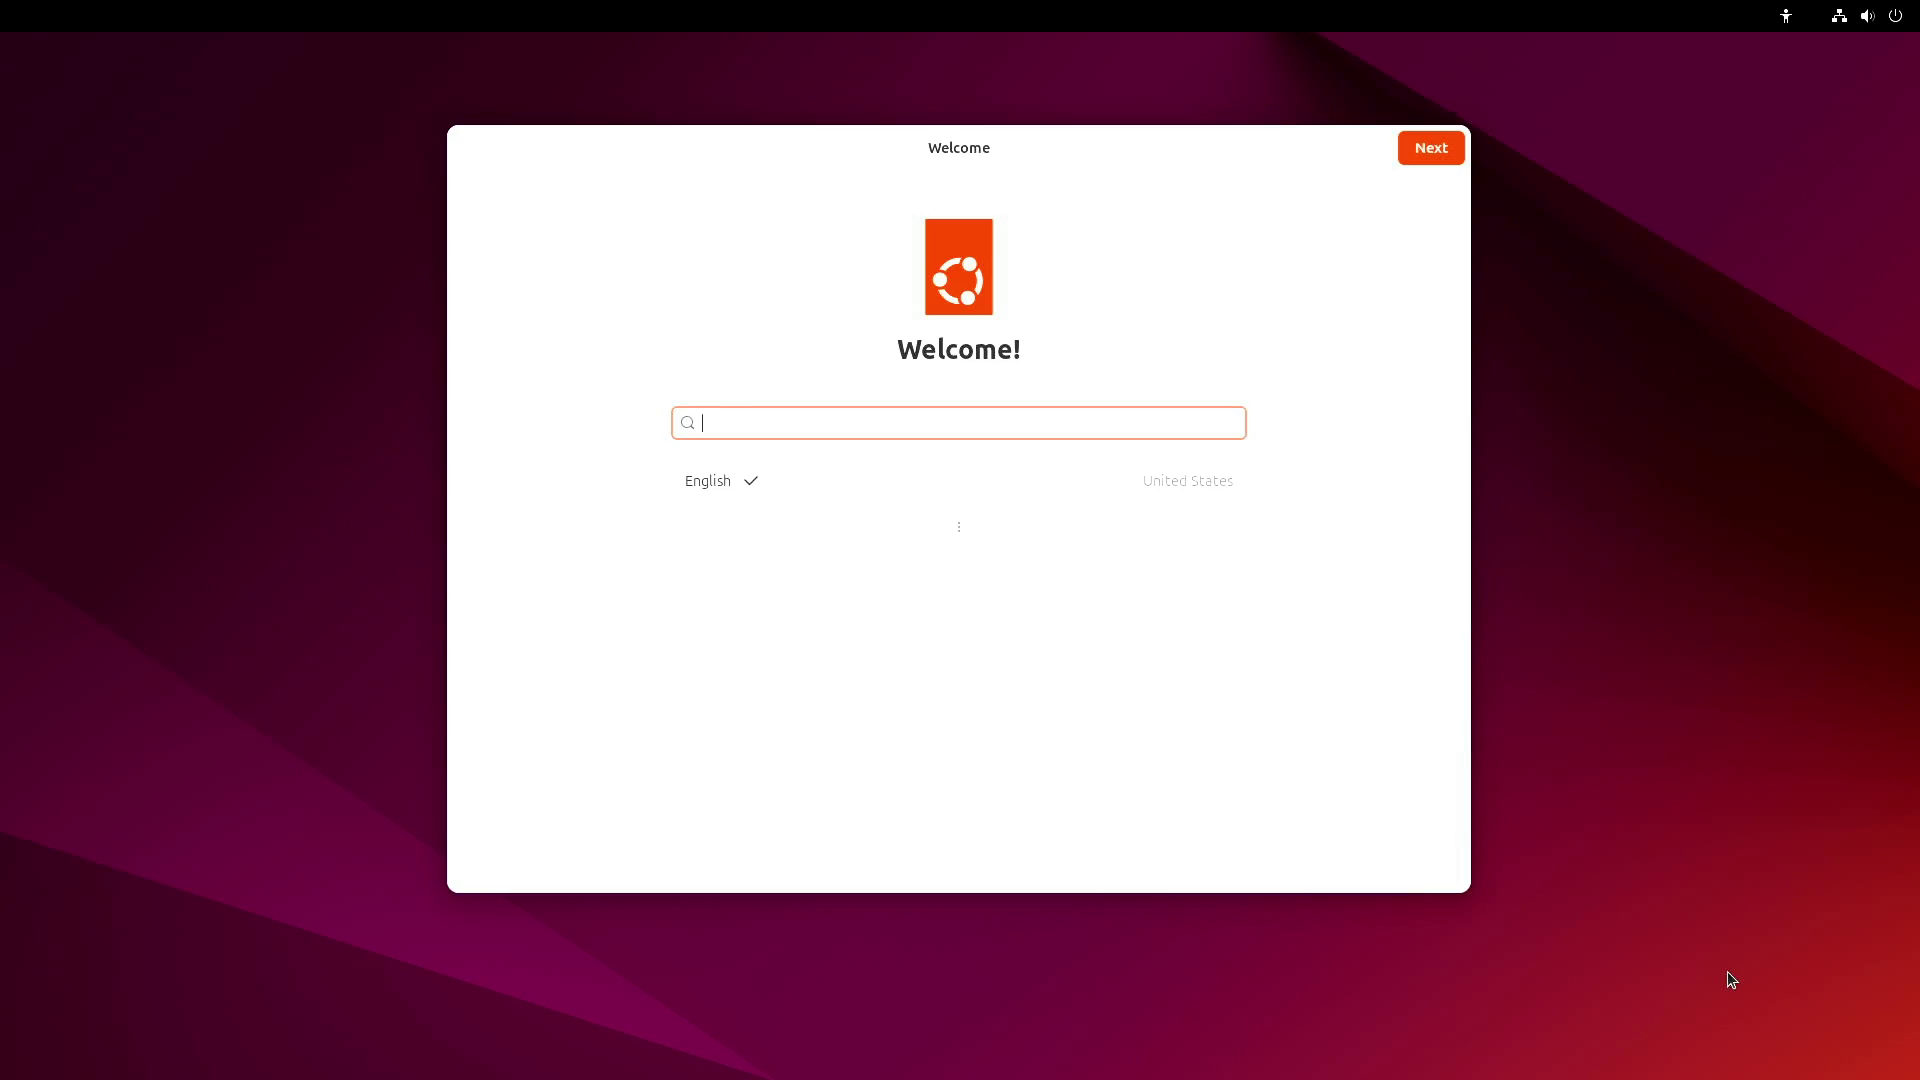
GUI oem-config welcome screen - On the "Welcome" screen, click Next button to proceed to the next step.
- On the "Typing" screen, select English (US) or appropriate keyboard layout for your keyboard attached to Jetson Orin device, and click Next button to proceed to the next step.
- On the next screen, read through the "NVIDIA Driver License Agreement" and click Accept button to proceed to the next step.
- On the "Network" screen, select your Wi-Fi access point to connect to the internet, or click Skip button to skip the network setup and proceed to the next step.
- On the "Time Zone" screen, select your time zone and click Next button to proceed to the next step.
- On the "About You" screen, enter your username and other information, and click Next button to proceed to the next step.
- On the "Password" screen, enter your password, and click Next button to proceed to the next step.
- On the "Setup Complete" screen, click Start Using Ubuntu button to finish the oem-config process.
What's Next
Congratulations!
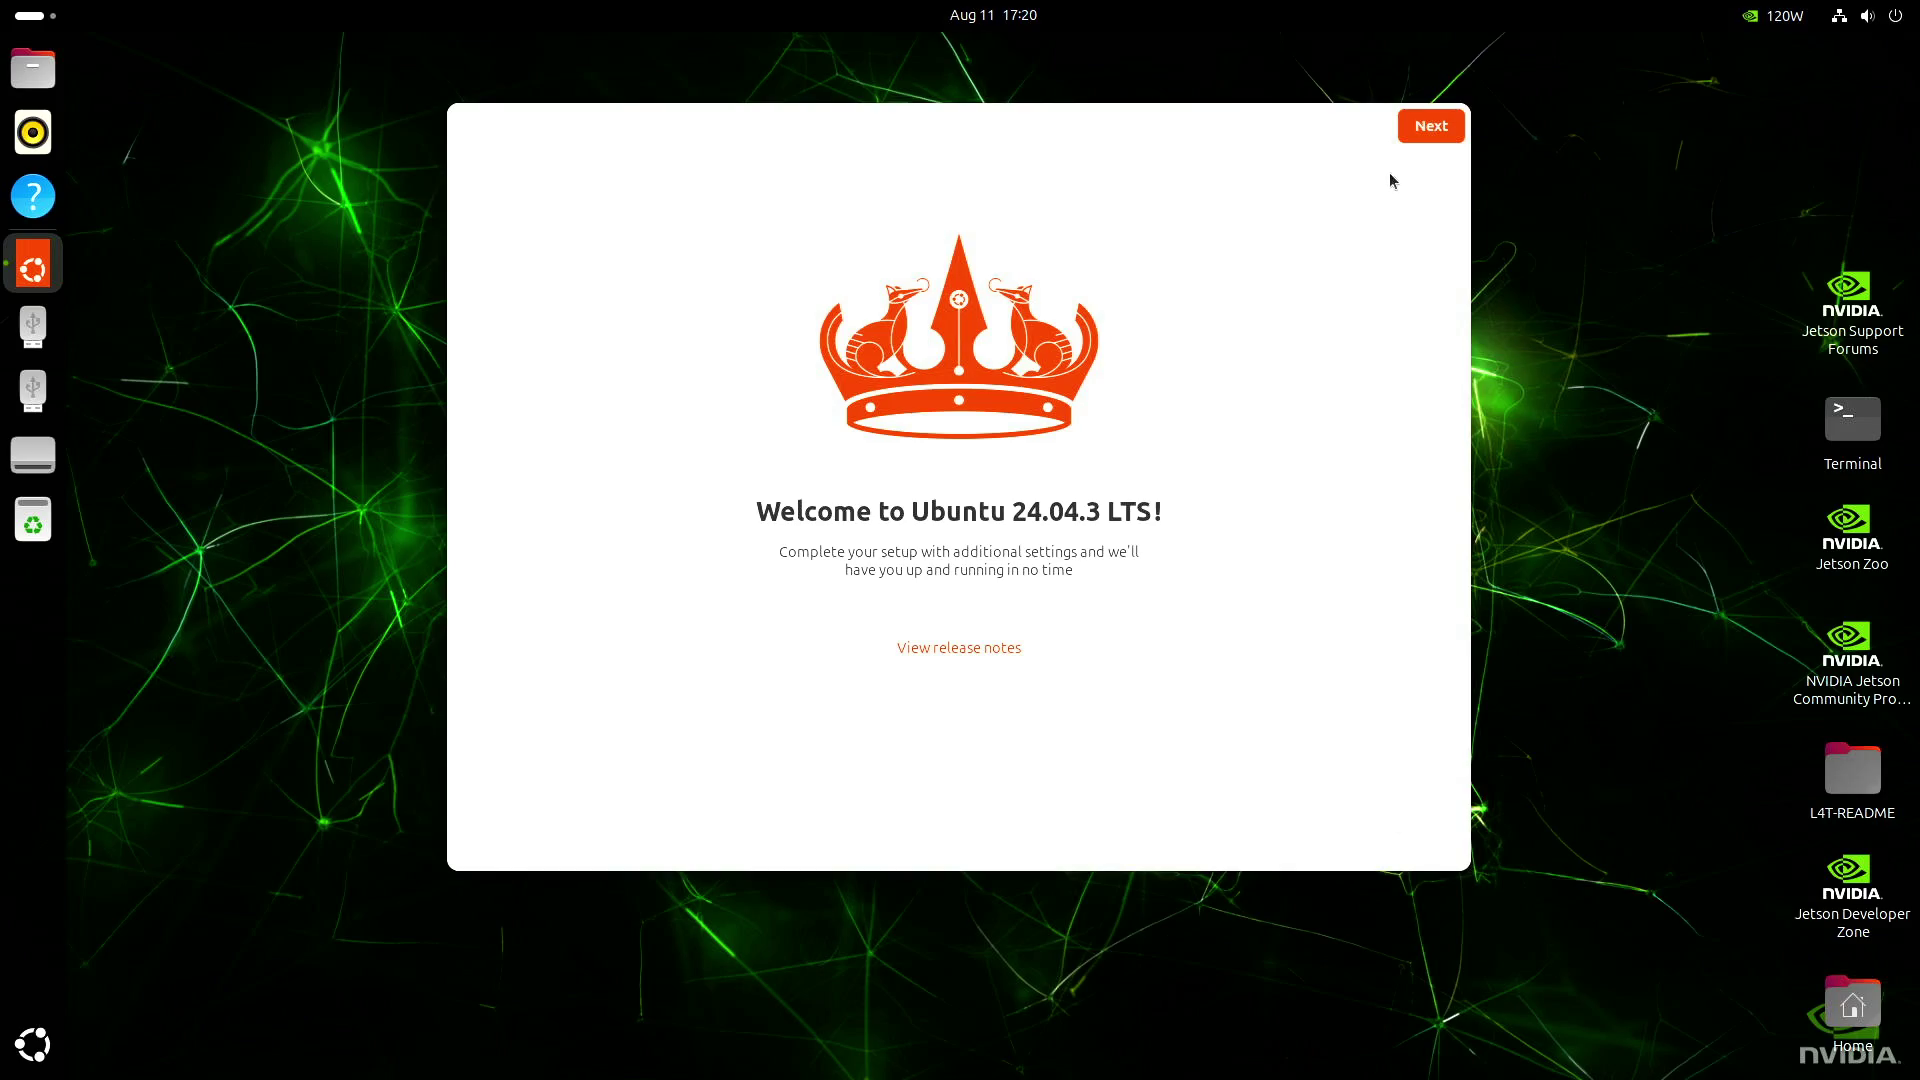
Welcome to Ubuntu on Jetson Orin
You can now start development on your Jetson Orin device.
Install the JetPack components that match your L4T release.
- Continue using SDK Manager on your host laptop/PC to push and install components to the Jetson Orin device remotely.
- Or install SDK Manager directly on your Jetson Orin device, then install the NVIDIA JetPack SDK components directly on the Jetson Orin device.
After JetPack components are installed, choose the power mode that fits your workload. You can select MAXN SUPER from the Ubuntu power mode menu for maximum performance.
🚑 Troubleshooting
I don't have video out on the monitor (connected through KVM)
Some KVM switches do not handle Jetson display output well during boot or installation. Connect the monitor directly to the Jetson Orin device and retry.
I missed the QSPI capsule update prompt
Restart the Jetson ISO installation and press Y when the firmware update confirmation appears. If the prompt times out and installation continues without the update, the install can fail later.
The screen stays black or drops to a UEFI shell
The device firmware may be too old for the target JetPack release. Power off the board and complete the required firmware update path before trying the JetPack ISO again.
Sources: NVIDIA Jetson Orin Nano device Quick Start Guide and Jetson AGX Orin device Quick Start Guide.
Copyright © 2025-2026, NVIDIA Corporation. Source pages last updated Jun 06, 2026 and Jun 04, 2026.