Finalizing the Installation#
After following Installing NVIDIA DriveOS, perform the following steps to finalize your installation.
Note
Ensure you connect a keyboard, mouse, and a display monitor before the following steps.
Accepting the EULA and Creating a User Account#
The DRIVE AGX Thor Developer Kit includes a graphical user interface (GUI) to accept the End User License Agreement (EULA) and create a Linux user account.
Note
The following steps are only required for the first boot out of the box, unless persistent data is cleared.
After flashing and rebooting the Developer Kit, the monitor displays the Setup Wizard:
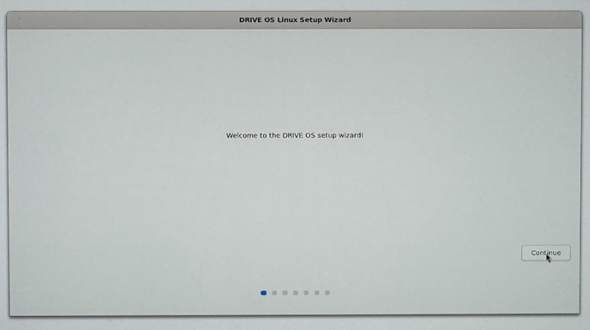
Continue with the Setup Wizard to perform the following steps:
Accept the EULA.
Create a username.
Set up the user password.
Tip
For a more detailed walkthrough of the Setup Wizard, see “Getting Started” in the NVIDIA DriveOS SDK Developer Guide.
Verifying the Installation#
To ensure that your DRIVE AGX Thor Developer Kit was flashed successfully, perform the following steps:
On the host system outside of the container, connect to the sMCU console by using the
minicomutility:$ minicom -D /dev/ttyACM2
On the sMCU console, check the sMCU software version by running the following command:
> version
Example Output
DRIVE-V7.0.3-P3960-AFW-RH850-U2A16-2.03.10
On the host system outside of the container, connect to the DRIVE AGX Thor SoC by using the
minicomutility:$ minicom -D /dev/ttyACM0
Login with the username and password created in Accepting the EULA and Creating a User Account.
On the DRIVE AGX Thor SoC console, check the DriveOS software version by viewing the
version-ubuntu-rootfs.txtfile:> cat /etc/nvidia/version-ubuntu-rootfs.txt
Example Output
7.0.3.0-40740537